
Contrary to common belief, 9 bars of pressure isn’t a static value delivered by your machine’s pump. It is a dynamic equilibrium achieved at the coffee puck. This means the fluctuating gauge you see is a direct report on the hydraulic resistance you’ve created through your grind size and puck preparation, making you the primary controller of pressure, not the machine itself.
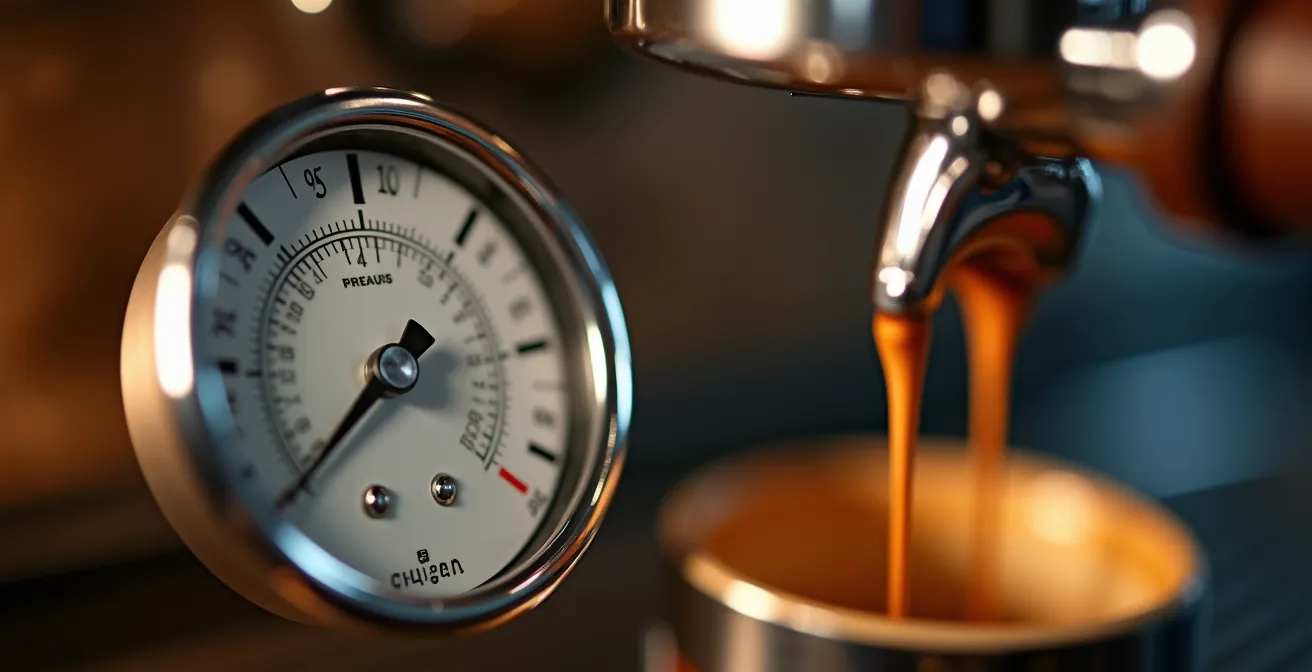
The needle on your espresso machine’s pressure gauge quivers, then climbs, sometimes overshooting the nine-bar mark, other times failing to reach it. You followed the advice: you bought a machine capable of producing the “gold standard” pressure. Yet, consistency remains elusive. The common wisdom suggests the pump dictates pressure, but this is a mechanical oversimplification. The reality is a far more interactive hydraulic system where the pump provides potential, but the coffee puck itself dictates the outcome.
This guide abandons the platitude that “9 bars is best” and instead dissects the mechanics of pressure as a system variable. We will not treat your espresso machine as a black box. Instead, we will analyze it as a hydraulic circuit where you, the operator, control the most critical component: the resistance created by the tamped coffee grounds. Understanding this relationship is the fundamental difference between chasing a number on a dial and truly mastering espresso extraction.
The core principle is this: pressure is the result of resistance to flow. A powerful pump hitting a loosely packed, coarse coffee bed will result in low pressure because the water flows through with little opposition. The same pump hitting a finely ground, perfectly prepared puck will meet significant resistance, forcing the pressure to build to the target of 9 bars. Your fluctuating gauge is not a sign of a faulty machine; it is a data point reporting on the integrity and resistance of your coffee puck. This article will deconstruct the variables you control—from grind size to pump type and pre-infusion—to give you systematic control over that pressure gauge and the quality of your crema.
For those who prefer a visual breakdown, the following video offers a concise explanation of the fundamental role of bar pressure in an espresso machine’s operation.
To navigate the complex hydraulics of espresso extraction, this guide is structured to build your understanding from the ground up. We will examine each component of the pressure equation, from the coffee grounds themselves to the machinery and techniques used to manipulate water flow, providing a complete mechanical overview.
Summary: Deconstructing the 9 Bar Pressure System
- Why Finer Grounds Increase Pressure and Bitter Compounds?
- How to Lower Your Machine Pressure to 6 Bars for Sweeter Shots?
- Vibratory vs Rotary Pump: Which Delivers Consistent Pressure?
- The Puck Prep Mistake That Causes Pressure Drops
- When to Engage Full Pressure: The Benefits of a 5-Second Soak
- How to Adjust Your PID Temperature for Ethiopian vs Brazilian Beans?
- Why Does Hot Espresso Cause Gelato to Crystallize If Poured Wrong?
- Why Your Espresso Has No Crema and How to Fix It Immediately?
Why Finer Grounds Increase Pressure and Bitter Compounds?
The primary control a barista has over hydraulic resistance is grind size. A finer grind creates a more compact coffee bed with smaller interstitial spaces. This increases the tortuosity of the path water must travel, drastically reducing the flow rate and thus building pressure. Scientifically, this effect is significant; a study in Nature Scientific Reports confirmed that a 20% increase in the fines fraction reduces the flow rate by up to 50%. This is the direct mechanism by which grinding finer increases the reading on your pressure gauge.
However, this increase in pressure is not linear with an increase in quality. As the grind becomes excessively fine, the flow can become so restricted that it creates conditions for over-extraction. Water that remains in contact with the coffee for too long, or at too high a pressure, begins to dissolve unwanted, bitter-tasting soluble compounds. More critically, research from the University of Oregon highlights that extremely fine grinds do not create uniform extraction. Instead, they can lead to partially clogged flow regimes, where some parts of the puck are over-extracted while others are under-extracted, resulting in a cup that is both bitter and sour.
The goal is not to grind as fine as possible, but to find the optimal grind level that provides enough resistance to achieve approximately 9 bars of pressure while maintaining a steady, even flow rate. The following data illustrates the relationship between grind, pressure, and flow.
| Grind Level | Pressure (bar) | Flow Rate | Extraction Impact |
|---|---|---|---|
| GL 2.0 (Coarse) | 3.8 | Normal | Lower extraction, balanced |
| GL 1.7 (Medium) | 7.4 | Slightly reduced | Optimal extraction range |
| GL 1.4 (Fine) | 9.3 | Significantly reduced | Risk of over-extraction |
This table demonstrates that while a finer grind (GL 1.4) can achieve the target 9.3 bars, it comes at the cost of a significantly reduced flow rate, which carries a high risk of channeling and extracting bitter compounds. The balance lies in the medium range, where pressure is substantial but flow remains healthy.
How to Lower Your Machine Pressure to 6 Bars for Sweeter Shots?
The industry standardization around 9 bars is largely a legacy of post-war Italian engineering, not an immutable law of physics for optimal taste. While 9 bars is effective for producing a thick, stable crema and a balanced shot from traditional Italian-style blends, modern specialty coffee has opened the door to pressure profiling. Lowering the pressure to around 6 bars can fundamentally alter the extraction dynamics in a way that favors certain flavor compounds.
At lower pressures, the force of the water is less aggressive. This gentler flow reduces the extraction of heavier, bitter compounds and polyphenols. It simultaneously allows for a finer grind without creating the excessive resistance that leads to channeling. This combination—a finer grind and lower pressure—can increase the extraction of sugars and fruity, acidic notes, resulting in a perceptibly sweeter and more delicate cup. This is not just theory; in a controlled experiment, 6 bar pressure produced 23% sweeter espresso in blind taste tests compared to its 9 bar counterpart.
To achieve 6 bars, you must first understand your machine. If it has an adjustable Over-Pressure Valve (OPV), you can mechanically lower the maximum pressure limit of the system. If your machine is not adjustable, you can simulate lower pressure by altering your technique. By grinding slightly coarser and pulling the shot manually to achieve a faster flow rate (e.g., a 1:2 ratio in 15-20 seconds instead of 25-30), you prevent the system from reaching its maximum pressure. This technique sacrifices some body but can unlock a sweeter, more nuanced flavor profile, especially with light-roast, single-origin beans.
Vibratory vs Rotary Pump: Which Delivers Consistent Pressure?
The type of pump in your espresso machine is a critical factor in understanding the behavior of your pressure gauge. Home and prosumer machines typically use one of two types: vibratory (vibe) pumps or rotary pumps. Their operational mechanics directly influence pressure stability. A rotary pump is a positive displacement pump; it moves a consistent volume of water with each rotation, resulting in a very stable and predictable pressure curve once it ramps up. Conversely, a vibratory pump uses an electromagnetic piston that oscillates 50-60 times per second, and its output is highly dependent on the resistance it meets.
This mechanical difference explains why a home barista might see their pressure gauge fluctuate. As one expert on the Home-Barista forum explains, the physics are clear:
Unlike rotary pumps, vibratory pumps produce a pressure that is strongly inverse to the rate of flow. Smaller, slower pouring shots will have far higher pressures; larger, faster pouring shots will have far lower pressures.
– Home-Barista Forum Technical Discussion, Espresso Machine Pump Analysis
This means with a vibe pump, any change in the puck’s resistance during the shot (e.g., minor channeling) will cause an immediate and visible change in pressure. Rotary pumps, common in commercial machines, are more robust against these changes. Laboratory measurements demonstrate that rotary pumps maintain pressure within ±0.5 bar, while vibratory pumps can vary by ±2 bars during a single extraction. The illustration below visualizes this difference in stability.
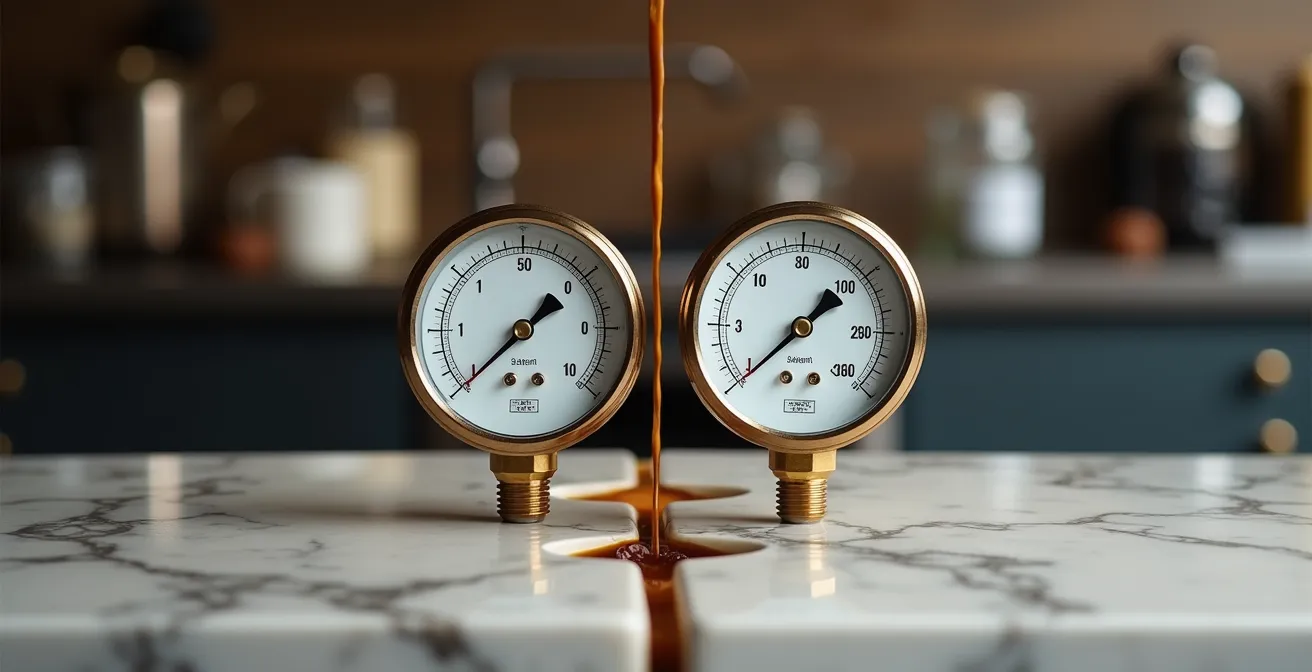
As the graphs depict, the rotary pump delivers a flat, consistent line of pressure, whereas the vibratory pump shows oscillations. This isn’t a defect; it’s the inherent nature of the technology. For a home barista with a vibe pump, this means that puck preparation is even more critical, as any inconsistency will be immediately reflected and amplified by the pump’s pressure output.
The Puck Prep Mistake That Causes Pressure Drops
A common frustration for home baristas is seeing the pressure gauge climb towards 9 bars, only to suddenly drop mid-extraction. The shot blondes prematurely, and the taste is thin and sour. The culprit is rarely the pump or the machine; it is almost always a failure of puck integrity known as channeling. Channeling occurs when water, under immense pressure, finds a path of least resistance through the coffee bed—a crack, a fissure, or an area of lower density—and bypasses the rest of the grounds.
When a channel opens, it acts like a hydraulic rupture. The system’s overall resistance plummets, and because pressure is a function of resistance, the pressure reading on the gauge drops accordingly. This is why even grinding finer can sometimes make the problem worse. Mathematical modeling has shown that at very fine settings, the likelihood of inhomogeneous flow and channeling increases, which in turn leads to a pressure drop and a lower overall extraction yield. The primary cause of channeling is uneven density in the coffee puck, often stemming from clumps in the coffee grounds before tamping.
The most effective mechanical solution to prevent channeling is the Weiss Distribution Technique (WDT). This involves using a tool with fine needles to stir the grounds in the portafilter, breaking up clumps and ensuring a homogenous, evenly distributed bed of coffee. This creates a puck with uniform density and, therefore, uniform hydraulic resistance, forcing water to percolate evenly through the entire bed rather than finding a single weak point to exploit.
Action Plan: Implementing the Weiss Distribution Technique (WDT)
- Utilize a WDT tool equipped with 0.3-0.4mm needles, spaced approximately 5-7mm apart for optimal distribution.
- Insert the needles to the full depth of the coffee bed to address density variations throughout.
- Stir in concentric circles, moving from the outside edge toward the center, and then reversing from the center to the outside to ensure comprehensive de-clumping.
- Conclude with several gentle vertical lifts of the tool to break up any surface clumps and settle the grounds.
- Level the bed with a few firm vertical taps of the portafilter on the counter before applying a consistent tamping force of around 20kg.
Mastering this technique is non-negotiable for pressure stability. It directly reinforces the structural integrity of the puck, which is the foundation of achieving and maintaining 9 bars of pressure throughout the entire shot.
When to Engage Full Pressure: The Benefits of a 5-Second Soak
Applying the full 9 bars of pressure to a dry, unprepared coffee puck is a recipe for disaster. Freshly ground coffee contains a significant amount of trapped CO2 from the roasting process. Hitting this gassy puck with an instant wall of high-pressure water can cause it to fracture on a micro-level, creating invisible channels before the extraction has even properly begun. The solution is pre-infusion: a brief, low-pressure phase at the beginning of the shot.
Pre-infusion involves wetting the coffee puck with low-pressure water (typically 1-3 bars) for a short duration, usually 3 to 8 seconds, before ramping up to the full 9 bars. This initial soak serves a critical hydraulic purpose. It allows the coffee grounds to gently absorb water, swell, and settle into a more stable, cohesive mass. As espresso authority Scott Rao explains, this phase is crucial for puck integrity:
Pre-infusion allows the trapped CO2 in fresh coffee a chance to off-gas gently. Hitting a gassy puck with instant 9 bars causes micro-fractures, leading to channeling.
– Scott Rao, Advanced Mode on the DE1+ and Blooming Espresso
By allowing the CO2 to escape in a controlled manner, the puck becomes less prone to fracturing. This creates a bed with more uniform resistance, which can withstand the force of 9 bars without developing channels. The result is a more even extraction, higher yield, and a more consistent shot. Many modern machines offer programmable pre-infusion, but even on simpler machines, you can often manually perform a gentle pre-infusion by briefly engaging and disengaging the pump.
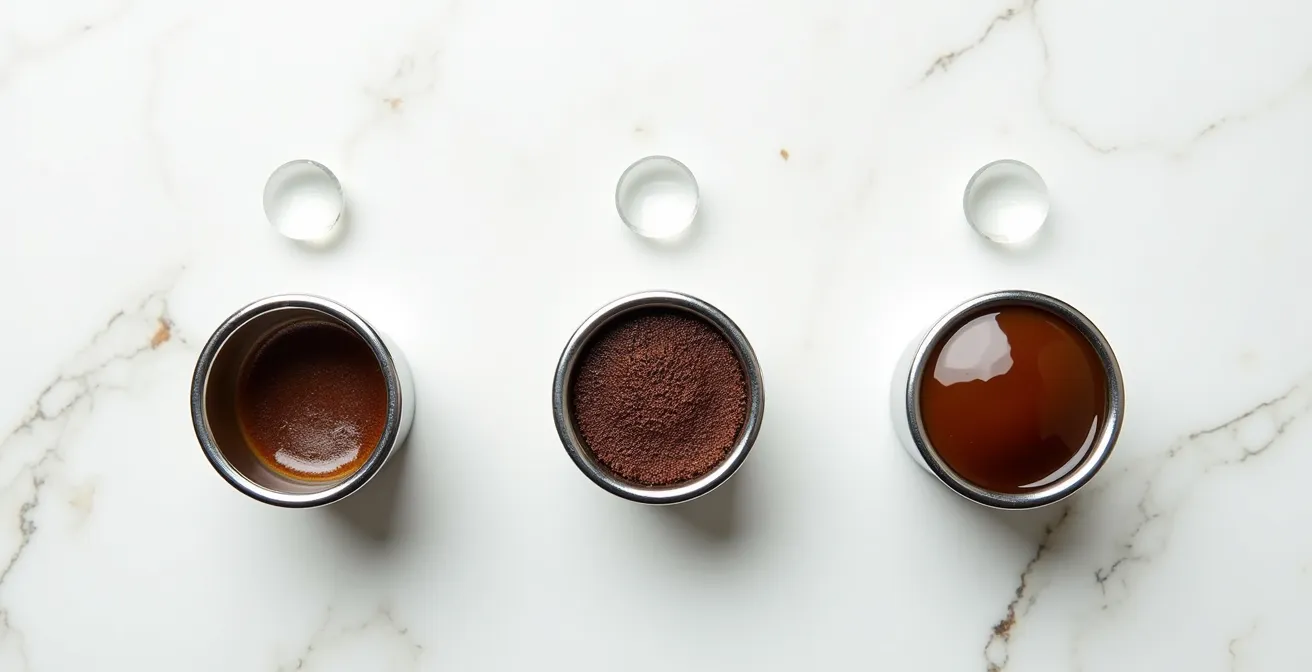
The image above illustrates the goal of pre-infusion: moving from a dry, vulnerable puck to a fully saturated, stable puck that is prepared to receive full pressure. This 5-second soak is not idle time; it is a critical step in building the foundation for a perfect, channel-free extraction.
How to Adjust Your PID Temperature for Ethiopian vs Brazilian Beans?
While pressure is a primary driver of extraction, it works in concert with water temperature. A Proportional-Integral-Derivative (PID) controller offers precise temperature stability, but the target temperature is not a universal constant. It must be adjusted based on the specific characteristics of the coffee bean, most notably its origin, processing method, and density. Denser beans, typically grown at higher altitudes like Ethiopian Yirgacheffe, require more energy (i.e., higher temperature) to properly extract their complex, floral, and acidic flavor compounds.
Conversely, less dense beans, often from lower altitudes like a Brazilian Cerrado, are more porous and extract more easily. Using a high temperature on these beans can quickly lead to over-extraction, pulling out ashy, roasty, and bitter flavors. For these beans, a lower temperature is required to achieve a balanced extraction that highlights their characteristic chocolatey and nutty notes. Studies have confirmed that increasing temperature increases the mass of components in the cup, with the effect being more pronounced at higher temperatures. This is why dense, high-altitude beans benefit from a temperature boost.
The interplay is complex: higher temperatures increase solubility, requiring a slightly coarser grind to maintain a balanced flow rate and prevent over-extraction. The following table provides a baseline for adjusting your PID settings based on bean origin and its associated density.
This data, based on a comprehensive analysis of extraction parameters, provides a starting point for dialing in your machine.
| Origin | Altitude | Density | PID Setting | Grind Adjustment |
|---|---|---|---|---|
| Ethiopian (Yirgacheffe) | 1,950-2,200m | High | 94-96°C | Slightly coarser |
| Brazilian (Cerrado) | 900-1,250m | Medium | 90-92°C | Slightly finer |
| Colombian (Huila) | 1,500-2,000m | Med-High | 92-94°C | Standard |
Adjusting your PID is another variable in the hydraulic system. For a dense Ethiopian bean, you might pair a 95°C temperature with a slightly coarser grind to achieve a balanced 9-bar extraction. For a Brazilian bean, a 91°C temperature with a finer grind might be necessary to build enough resistance while avoiding bitterness.
Why Does Hot Espresso Cause Gelato to Crystallize If Poured Wrong?
The application of a perfectly extracted 9-bar shot extends beyond the cup, influencing even its interaction with other foods, as seen in a classic affogato. When hot espresso is poured over cold gelato, a common issue is the formation of unwanted ice crystals, creating a gritty texture. This phenomenon is a direct result of localized melting and rapid refreezing. The quality of the espresso shot, specifically its crema, plays a surprisingly important role in mitigating this.
A shot pulled at an optimal 9 bars of pressure using fresh coffee produces a thick, viscous, and persistent crema. This layer of emulsified oils and microscopic CO2 bubbles is not just for aesthetics; it acts as a thermal insulator. As the Barista Institute notes in their research on coffee-dessert pairings, this is a key physical property:
A well-extracted 9-bar shot has thick, stable crema that acts as an insulating layer, slowing heat transfer from liquid espresso to gelato.
– Barista Institute Research, Temperature Dynamics in Coffee-Dessert Pairings
This insulating crema, combined with a proper pouring technique, prevents the hot liquid espresso from “drilling” into one spot on the gelato. By dispersing the liquid’s thermal energy over a wider surface area, it minimizes deep melting and subsequent ice crystal formation. An under-extracted shot with thin, bubbly crema offers no such protection, leading to a compromised dessert. The correct pouring technique leverages this principle of dispersion.
To prevent crystallization and create a perfect affogato, follow this professional pouring method:
- Chill a dessert spoon in the freezer for at least 5 minutes before service.
- Hold the chilled spoon with its back facing up, positioned just 1cm above the gelato’s surface.
- Pour the freshly extracted espresso in a slow, thin stream directly onto the back of the spoon.
- Allow the espresso to cascade gently and evenly over the spoon’s edges, blanketing the gelato.
- This dispersed flow prevents deep thermal penetration, preserving the gelato’s smooth texture.
This demonstrates that achieving 9 bars of pressure isn’t just about taste; it’s about producing an espresso with the correct physical properties to perform as an ingredient.
Key takeaways
- Pressure at the group head is a result of resistance from the coffee puck, not a fixed output from the pump.
- Channeling, caused by poor puck prep, is the number one reason for sudden pressure drops and inconsistent shots.
- Vibratory pumps are more sensitive to changes in puck resistance than rotary pumps, making consistent user technique even more critical.
Why Your Espresso Has No Crema and How to Fix It Immediately?
Crema is the most visible indicator of your extraction’s success or failure. It is formed when water at high pressure emulsifies the coffee bean’s oils and supersaturates the liquid with CO2. If your shot has little to no crema, it is a direct diagnostic signal that one or more critical parameters in your hydraulic system are incorrect. The most common culprit is stale coffee. The CO2 responsible for creating crema is a volatile gas that dissipates over time. In fact, research indicates that coffee loses up to 70% of its CO2 content within 14 days of its roast date. Without sufficient CO2, it is physically impossible to produce a rich crema, no matter how perfect your technique is.
If your beans are fresh (ideally 7-14 days post-roast), the lack of crema points to a mechanical failure in achieving adequate extraction pressure. This can be due to several factors: the grind is too coarse, the dose is too low for the basket, or the water temperature is too low. A coarse grind or an insufficient dose creates a puck with low hydraulic resistance, allowing water to pass through too quickly without building up to the necessary 9 bars of pressure. This results in under-extraction, producing a thin, sour shot with no crema.
Conversely, the quality of crema is as important as its presence. Excessive, pale, and bubbly crema is often a sign of coffee that is too fresh (less than 5 days from roast), leading to an unbalanced, gassy shot. The target is a persistent, fine-textured, reddish-brown crema, often with “tiger-striping,” which indicates an optimal extraction. The following table provides a quick diagnostic guide to troubleshooting your crema issues.
| Crema Type | Appearance | Cause | Fix |
|---|---|---|---|
| No Crema | Bare liquid surface | Stale beans (14+ days) | Use beans 7-14 days from roast |
| Pale & Bubbly | Light tan, large bubbles | Under-extraction or too fresh | Grind finer, increase dose |
| Dark & Thin | Dark brown, dissipates quickly | Over-extraction | Reduce temperature or time |
| Tiger-Striped | Reddish-brown with patterns | Optimal extraction | Maintain current parameters |
Ultimately, crema is the final report card of your entire process. It is a visual confirmation of whether you successfully managed the variables of freshness, grind, dose, and temperature to create the necessary 9 bars of resistance for a perfect extraction.
Frequently Asked Questions on Espresso Pressure and Crema
My beans are fresh but still no crema – what’s wrong?
If freshness isn’t the issue, conduct a system check. Verify your water temperature is within the optimal 90-96°C range. Ensure your dose is sufficient for your basket size (a minimum of 7g for a single, 14g for a double). Finally, confirm your grind is fine enough to create the necessary resistance to build 9 bars of pressure during the extraction phase.
Does more crema always mean better espresso?
No. Quality trumps quantity. An excessive amount of pale, large-bubbled crema often indicates that the coffee is too fresh and gassy (roasted less than 5 days ago), which typically produces a sour and unbalanced shot. The goal is a fine-textured, reddish-brown crema with “tiger-striping” that remains stable for at least two minutes.
Can I get crema with a pressurized portafilter?
Yes, a pressurized basket will produce crema, but it is an artificial or “faux” crema. The basket uses a double-wall design with a single small exit hole that mechanically creates pressure and froths the coffee, regardless of grind size or freshness. This is different from the natural crema produced by the correct hydraulic process: 9 bars of pressure extracting emulsified oils and CO2 from a properly prepared puck of fresh coffee.