
The secret to high-end pastry isn’t about expensive, specialized equipment; it’s about mastering fundamental principles. Forget the intimidation of complex recipes. By understanding the ‘why’ behind precision, temperature control, and timing, you can translate the magic of a professional kitchen into repeatable success in your own home, using the tools you already have.
For any passionate home baker, flipping through a book of French pastry can be both inspiring and deeply intimidating. The glossy photos of immaculate entremets, mirror-like glazes, and delicate sugar work seem to belong to another world—a world of marble countertops, tempering machines, and years of grueling training. You follow a recipe to the letter, but your cookies become tough, your chocolate is streaky, and your tart shell shrinks into a sad, shrunken version of the original.
The common advice is often to “use a kitchen scale” or “just be patient,” but this misses the core of the issue. The gap between a home cook and a pastry chef isn’t a lack of talent; it’s a gap in understanding the foundational science. Professional pastry isn’t magic; it’s a discipline built on the predictable physics of ingredients. It’s about controlling outcomes by mastering a few key variables.
This guide bridges that gap. We’re going to pull back the curtain on what makes professional techniques work. Instead of just telling you *what* to do, we’ll explain *why* you’re doing it. We will prove that the most intimidating tasks—from tempering chocolate without special tools to building a flawless multi-layer cake—are simply the application of simple, understandable principles. It’s time to stop following recipes blindly and start baking with intention and confidence.
This article will guide you through the core principles that elevate baking from a hobby to an art form. We will break down eight fundamental techniques, providing the professional insight and home-friendly adaptations you need to succeed.
Summary: From Intimidated to Intentional: Your Pastry Technique Guide
- Why Cups and Spoons Fail for Haute Pastry Recipes?
- How to Temper Chocolate Without a Marble Slab?
- Sheet Gelatin vs Powder: Which Gives a Clearer Glaze?
- The Weather Mistake That Ruins Sugar Work
- When to Start a Multi-Layer Cake: A 3-Day Plan
- How to Shape Ice Cream with Two Spoons?
- How to Choose a Dessert That Compliments a Heavy Meal?
- Why Your Tart Shell Shrinks in the Oven and How to Prevent It?
Why Cups and Spoons Fail for Haute Pastry Recipes?
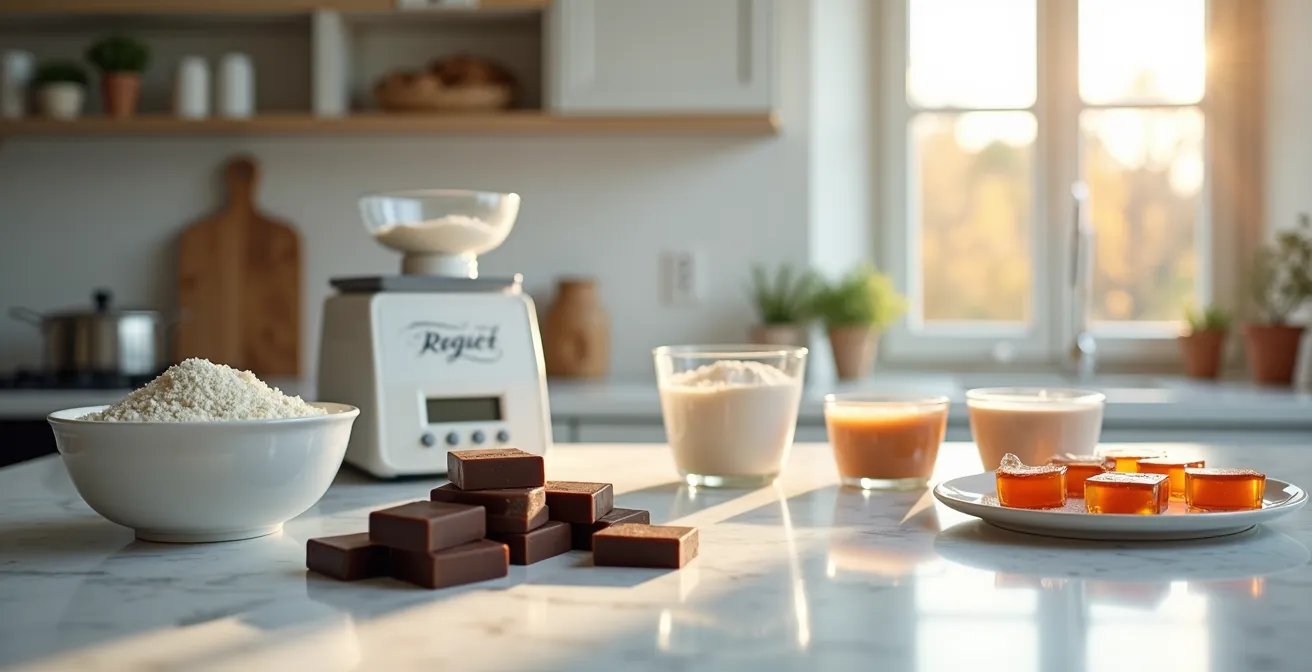
The single most important shift from home baking to professional pastry has nothing to do with a fancy oven or a stand mixer. It’s the move from volume to weight. You might think your cup of flour is consistent, but it’s the primary source of error in most home kitchens. The act of scooping can compact the flour, leading to wild variations in every batch. This isn’t just a minor detail; it’s the difference between a tender cake and a dense brick.
Consider a professional test kitchen experiment where staff were asked to measure a cup of flour. The results were shocking: some cups weighed as little as 3 ounces, while others were a hefty 5.5 ounces. When the correct measurement is 4.25 ounces, that variance is a recipe for disaster. An extra ounce of flour can turn chewy cookies into hockey pucks, as confirmed by a Taste of Home Test Kitchen experiment. This is why professional recipes are always given in grams.
The solution is simple and non-negotiable: a digital kitchen scale. It is the most critical tool for precision baking. It eliminates guesswork and guarantees that your 100 grams of flour today is the exact same as your 100 grams of flour tomorrow. This principle of precision over volume ensures consistency, allowing you to reliably replicate results and accurately troubleshoot your recipes. When every ingredient is precisely weighed, you’re no longer guessing; you’re engineering a delicious outcome.
How to Temper Chocolate Without a Marble Slab?
Tempering chocolate is often seen as the Everest of home pastry—a mysterious process requiring specialized equipment and an almost magical touch. The goal is to encourage the cocoa butter to form stable crystals, which gives the finished chocolate its signature snap, beautiful shine, and smooth melt-in-your-mouth feel. Untempered chocolate, on the other hand, is dull, soft, and can have a grainy texture. While professionals use marble slabs to cool the chocolate rapidly, the principle is what matters, not the tool.
You can achieve the same result at home using a technique called the seeding method. This involves melting a portion of the chocolate to a specific temperature and then “seeding” it with finely chopped, solid chocolate. The stable crystals in the solid chocolate act as a template, encouraging the melted chocolate to crystallize correctly as it cools. The key is precise temperature control. According to experts, you should never heat bittersweet chocolate above 120°F (49°C), as overheating will destroy the existing crystal structure.
This process is easily done using two simple bowls, eliminating the need for any special surfaces. The image below illustrates the concept of moving chocolate between vessels to control its temperature.
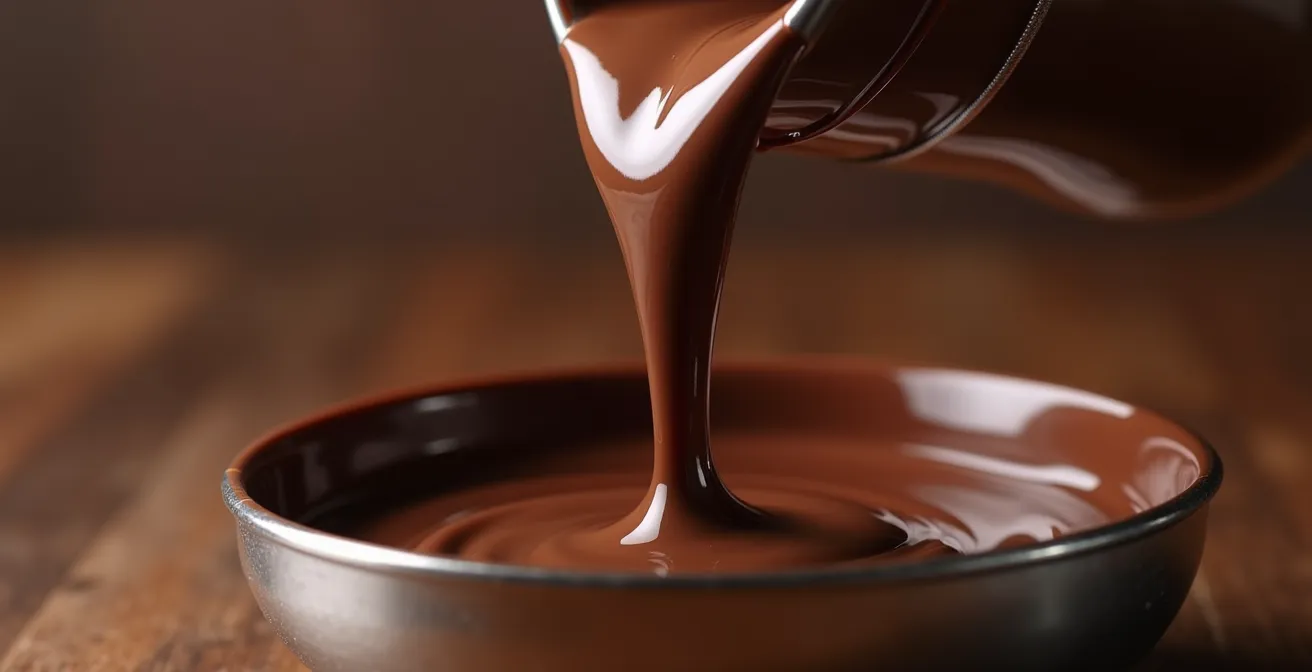
To use the seeding method, you melt two-thirds of your chocolate, remove it from the heat, and stir in the remaining one-third until it’s fully melted and the mixture has cooled. A gentle reheating brings it back to a workable temperature, perfectly in temper. You’ve achieved the pro result by understanding the principle of crystal formation, not by owning the pro equipment.
Sheet Gelatin vs Powder: Which Gives a Clearer Glaze?
Gelatin is the invisible architect behind the wobbly texture of panna cotta, the stability of a mousse, and the stunning shine of a mirror glaze. For home bakers, powdered gelatin is the most common form, found in small packets at the grocery store. Professionals, however, almost exclusively use sheet gelatin (also called leaf gelatin). The choice isn’t about snobbery; it’s about control and the final result, particularly when it comes to clarity.
Powdered gelatin is composed of tiny granules that can create a slightly cloudy or hazy effect when dissolved. While perfect for opaque desserts like marshmallows, this cloudiness can mar the glass-like finish of a delicate gelée or a mirror glaze. Sheet gelatin, on the other hand, dissolves into a perfectly clear liquid, resulting in a more refined and professional appearance. Furthermore, sheet gelatin is easier to use for precision work. You simply soak the sheets in any amount of cold water until soft, squeeze out the excess water, and you have a pre-hydrated amount ready to dissolve. Powdered gelatin requires a specific ratio of liquid to “bloom” correctly, adding another variable to manage.
The following table breaks down the key differences to help you decide which is right for your project.
| Characteristic | Sheet Gelatin | Powdered Gelatin |
|---|---|---|
| Clarity | Crystal clear, glass-like finish | Slightly cloudy due to gelatin dust |
| Bloom Strength | Varies (Bronze, Silver, Gold, Platinum) | Usually standardized |
| Hydration Method | Soak in any amount cold water, squeeze dry | Requires specific liquid ratio |
| Best Use | Mirror glazes, clear preparations | Marshmallows, opaque mousses |
| Professional Preference | Preferred for precision work | Better for large batch production |
While powdered gelatin is perfectly acceptable for many applications, understanding when to switch to sheet gelatin is a hallmark of an advancing baker. For any dessert where a flawless, transparent finish is the goal, making the switch is a simple step that yields visibly superior results.
The Weather Mistake That Ruins Sugar Work
Have you ever tried to make caramel or spun sugar on a humid day, only to end up with a sticky, weeping mess? This isn’t a failure of your technique; it’s a failure to account for the invisible enemy of all sugar work: humidity. Sugar is hygroscopic, meaning it actively attracts and absorbs moisture from the air. On a humid day, your beautifully crisp caramel will start pulling water from the atmosphere, becoming soft and sticky within minutes.
This is a fundamental piece of kitchen physics that pastry chefs live by. They don’t fight humidity; they control their environment. Professional pastry kitchens are often climate-controlled for this very reason. While you can’t rebuild your kitchen, you can choose your baking days wisely. A cool, dry day is your best friend for any project involving cooked sugar, from lollipops to intricate sugar cages. If you must work on a humid day, running an air conditioner can significantly reduce the moisture in the air and improve your chances of success.
This principle of environmental control extends to other temperature-sensitive ingredients as well. For instance, professional pastry chefs maintain their workspace at 16 to 20 degrees C (60-68°F) because it’s the ideal range for both chocolate and sugar to set properly without becoming too brittle or too soft. By simply being mindful of the weather and turning on the AC, you are adopting a core professional strategy that costs nothing but yields dramatically better results.
When to Start a Multi-Layer Cake: A 3-Day Plan
The thought of assembling a multi-layer cake with different fillings, a perfectly smooth buttercream finish, and decorations can feel like a frantic, overwhelming marathon. Many home bakers try to accomplish everything in a single day, leading to stress, mistakes, and a kitchen that looks like a disaster zone. The professional approach is the complete opposite: it’s not a sprint, it’s a meticulously planned process of controlled chaos, spread over several days. This isn’t about making it harder; it’s about making it easier, more stable, and ultimately, more delicious.
The secret is to treat time as an ingredient. Chilling and resting are active steps that improve both the structure and flavor of the cake. A cold cake is firm and far less likely to tear or slide during assembly. Fillings like ganache and curd set up better, and a chilled crumb coat—a thin layer of buttercream that traps all the loose crumbs—creates a perfect, clean canvas for your final layer of frosting. This multi-day plan transforms a stressful event into a manageable and enjoyable process.
The assembly process, as shown in the image, becomes an act of patient craftsmanship rather than a rushed race against the clock.
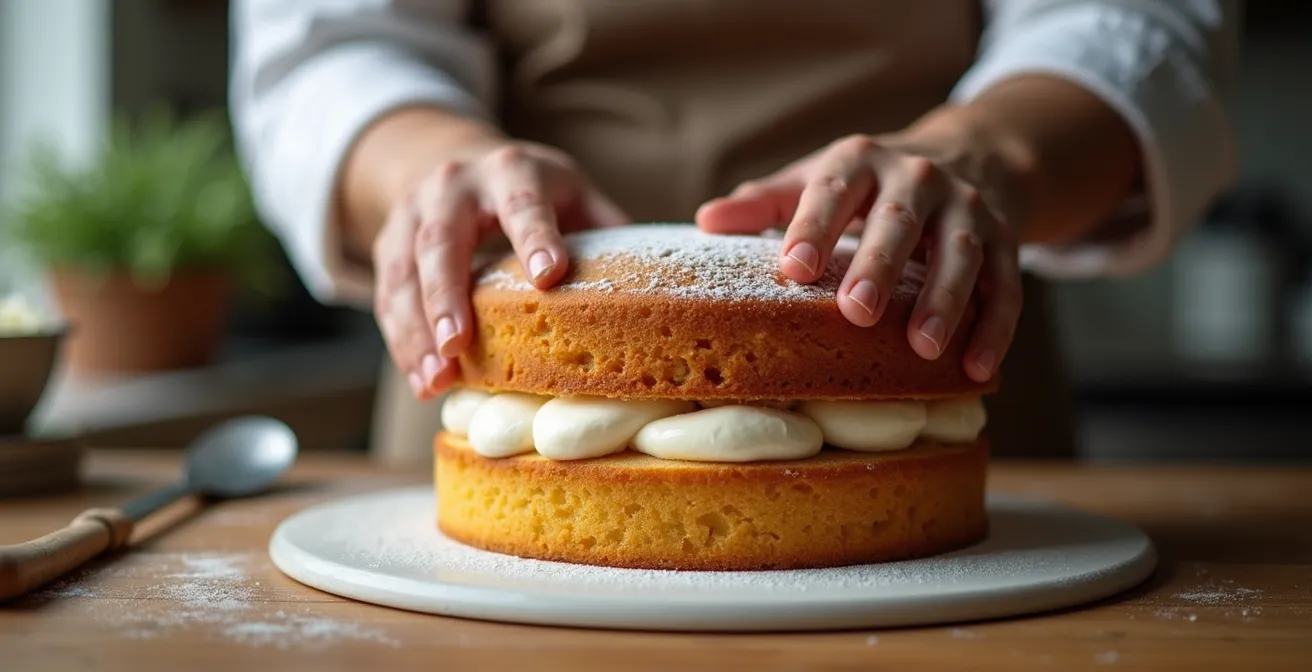
Spreading the work allows each component to reach its optimal state. The cake layers have time to firm up, making them easier to handle, and the flavors have time to meld and deepen. By adopting this timeline, you’re not just organizing your time; you’re building a better, more structurally sound, and more flavorful cake.
Your Action Plan: The Professional 3-Day Cake Timeline
- Day 1 – Component Day: Bake all cake layers and prepare your fillings (like curds, ganaches, or jams). Make any soaking syrups. Once cool, wrap each component separately and chill. This step helps develop flavors and makes assembly easier.
- Day 2 – Assembly Day: Level your cake layers if needed. Fill and stack the layers, applying a thin crumb coat of buttercream over the entire cake. Chill the cake overnight to let it settle and become structurally solid.
- Day 3 – Decoration Day: Apply the final, beautiful coat of buttercream to the chilled cake. Add your decorative elements like drips, piping, or fresh flowers. Let the finished cake sit for at least 2-4 hours before serving to allow the frosting to set and the flavors to meld.
How to Shape Ice Cream with Two Spoons?
That elegant, three-sided oval of ice cream served in fine-dining restaurants is called a “quenelle.” For many, attempting to replicate it at home results in a lumpy, melting blob. The secret to the perfect quenelle isn’t in a fancy wrist-flick; it’s in the temperature of the ice cream itself. Professionals never, ever scoop ice cream straight from the deep freezer. It’s far too cold and hard, which prevents the smooth, rolling motion needed for the shape.
The key professional step is tempering the ice cream. This involves moving the tub from the freezer to the refrigerator for 10-20 minutes before serving. The goal is to bring it to an ideal scooping temperature of around -13°C (8°F), where it is pliable but not melting. This small act of strategic patience is what makes the technique possible. In fact, many chefs practice the quenelle motion using cold mashed potatoes to build muscle memory before they even touch the melting ice cream.
Once the ice cream is tempered, the technique becomes much simpler. You’ll need two identical large spoons and a mug of hot water. Dip the spoons in the hot water and dry them quickly. The warmth helps the spoon glide through the ice cream. Holding one spoon at a 45-degree angle, drag it towards you across the surface of the ice cream, letting it curl up into the spoon. Then, use the second spoon to scoop the ice cream out of the first, repeating the motion back and forth a few times to smooth the sides. With a final rotation of the wrist, you transfer the finished quenelle to the plate. It’s a technique made possible not by speed, but by preparation.
How to Choose a Dessert That Compliments a Heavy Meal?
After a rich, heavy main course like beef bourguignon or a creamy pasta dish, serving an equally rich dessert like a dense chocolate lava cake can be overwhelming for the palate. A common home-cooking mistake is to choose a dessert in isolation, based on what sounds good, rather than considering its role in the overall meal. Pastry chefs, however, are masters of balance. They design desserts to act as a counterpoint, cleansing the palate and leaving the diner feeling refreshed, not weighed down.
The guiding principle is contrast. If the main course was rich and fatty, the dessert should be acidic and light. If the main was spicy, the dessert should be cool and creamy. The goal is to provide relief and a new sensory experience. A burst of citrus, the clean bitterness of coffee, or the cooling sensation of mint can cut through richness and reset the taste buds. Texture and temperature also play crucial roles. A crisp pavlova, a cold granita, or a smooth sorbet can provide a welcome textural break after a soft, stewed main course.
Thinking like a chef means seeing the dessert not as an afterthought, but as the final, crucial note in a culinary composition. The following matrix provides a professional framework for pairing desserts, turning a good meal into a great one.
| Heavy Main Course | Ideal Dessert Profile | Professional Example |
|---|---|---|
| Rich, Creamy (Beef Bourguignon) | Acidic, Light, Crisp texture | Lemon Raspberry Pavlova |
| Fatty, Fried Foods | Bitter, Cold temperature | Espresso Granita or Affogato |
| Spicy, Complex Flavors | Cool, Creamy, Mild | Vanilla Panna Cotta with Mint |
| Heavy Pasta/Starch | Fresh Herbs, Citrus forward | Basil-infused Lemon Sorbet |
By using these principles, you move from simply serving sweets to thoughtfully composing a complete dining experience. This strategic approach is a subtle but powerful way to elevate your cooking.
Key Takeaways
- Precision is non-negotiable; a digital scale is your most valuable and transformative pastry tool.
- Temperature control is the hidden secret behind perfect chocolate, crisp sugar work, and even elegant ice cream scoops.
- Time is an ingredient; use chilling, resting, and multi-day plans as active steps to improve flavor and structure.
Why Your Tart Shell Shrinks in the Oven and How to Prevent It?
It’s one of the most common and frustrating baking failures: you meticulously press your beautiful pastry dough into a tart pan, only to have it shrink down the sides during baking, leaving you with a thick, squat shell. This isn’t a random event; it’s a predictable result of kitchen physics, specifically the interplay between gluten development and melting fat. When you work the dough, you develop gluten strands. If these strands aren’t given time to rest, they remain tense and will contract with the heat of the oven, pulling the sides of your tart shell inward.
The type of flour used also plays a role. Professional pastry chefs know that flour with a lower protein content creates a more delicate and less shrink-prone crust. While you may not have access to special pastry flour, allowing the dough to rest is a technique that works with any kind. But the most crucial professional secret to combat shrinkage is thermal shock. Professionals will line their tart pan with dough and then freeze it solid. Placing this frozen shell directly into a very hot oven causes the fat in the pastry to set almost instantly, creating a rigid structure before the gluten has a chance to contract.
Combining these principles—using the right flour, allowing the dough to relax the gluten, and using extreme cold followed by extreme heat—is the professional protocol for a perfect, full-sized tart shell every time. The final pro tip is to use proper pie weights that fill the entire shell, including up the sides, to provide physical resistance against any shrinkage. These steps combined give you complete control over the outcome.
Now that you understand the principles behind these techniques, the path to elevating your pastry is clear. Don’t try to master them all at once. Start by mastering the art of the perfect tart shell to build your confidence and transform your baking, one delicious success at a time.