
Achieving a professionally smooth coffee ice cream texture at home requires mastering food science, not just following a recipe.
- Ice crystals are controlled by managing “freezing point depression” with specific sugar blends, not just total sugar.
- Infusing flavor via steeping coffee beans in cream avoids adding excess water, the primary cause of iciness.
Recommendation: Focus on stabilizing the cream base and controlling temperature at every stage, from steeping to final hardening.
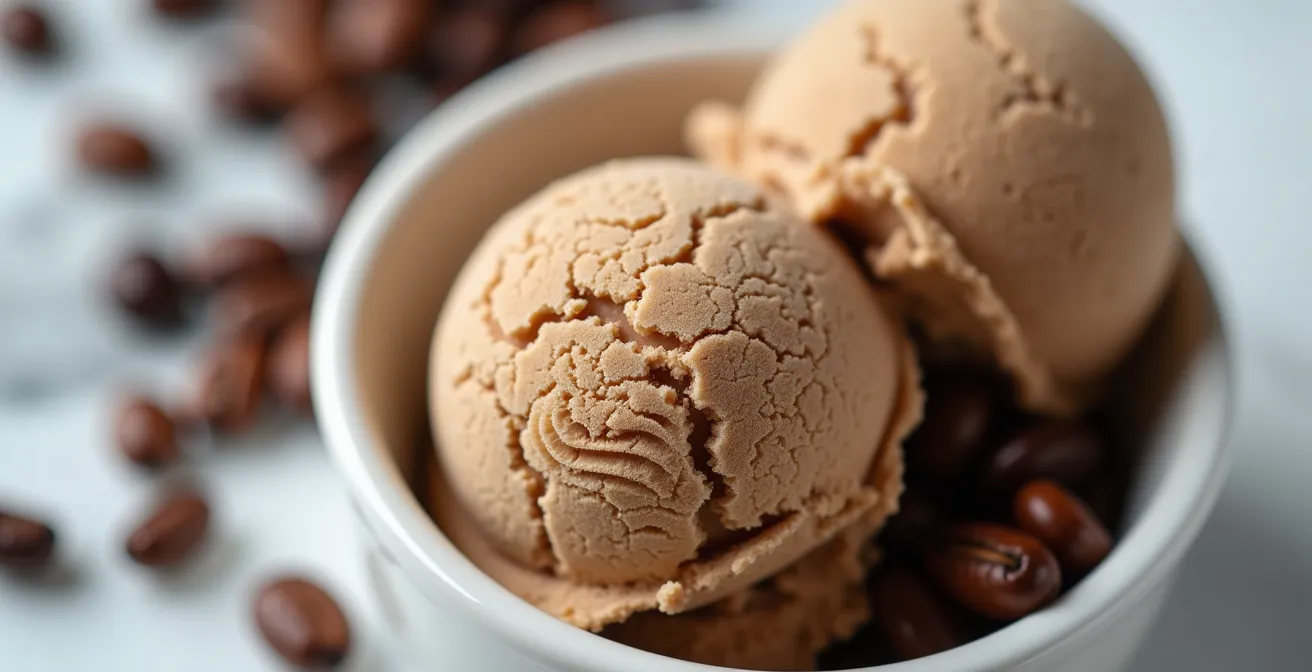
For the dedicated hobbyist, the pursuit of perfect homemade ice cream is a rewarding journey. Yet, few challenges are as frustrating as pulling a batch of coffee ice cream from the freezer only to find it riddled with a grainy, icy texture. The rich, bold flavor you worked so hard to achieve is lost in a flurry of crunchiness, a pale imitation of the creamy scoop you envisioned. Many guides will offer simple advice: chill your base, use full-fat cream, or churn it properly. While correct, this advice only scratches the surface and often fails to prevent the stubborn ice crystals that plague coffee-flavored bases.
The core of the problem lies in water. Coffee flavor is most often delivered via espresso or strong brewed coffee, introducing a significant amount of water into a system that is fundamentally a delicate balance of fat, sugar, and protein. This excess water is eager to freeze into large, texture-destroying crystals. The true key to a velvety smooth consistency is not found in a single secret ingredient, but in understanding and controlling the molecular interactions within your ice cream base. It’s about fighting water with science.
As food science expert Maya Warren notes in a Science Friday interview, the entire process is a battle against crystal growth:
When you look at making ice cream, it’s all about trying to keep those ice crystals that are in the base from turning into larger, grittier things. And then the second part of all of this is what’s actually in the ice cream because that actually changes how the mixture sets up when it freezes.
– Maya Warren, Science Friday – Food Science Expert Interview
This guide will move beyond the kitchen tips and delve into the technical principles. We will explore how different sugars scientifically alter freezing points, why steeping is superior to pouring, how churning can make or break your texture, and how stabilizers act as your molecular insurance policy. By mastering these concepts, you can finally defeat iciness and consistently produce coffee ice cream with a professional, luxuriously smooth texture.
This article provides a technical breakdown of the key factors that influence ice cream texture. By understanding each element, from sugar composition to churning mechanics, you can systematically eliminate the causes of ice crystals in your homemade creations.
Summary: The Science of Creating Perfectly Smooth Coffee Ice Cream
- Why Reducing Sugar in Ice Cream Makes It Rock Hard?
- How to Steep Coffee in Cream Instead of Adding Watery Espresso?
- Chunks vs Stracciatella: Which Chocolate Style Melts Better on the Tongue?
- The Churning Error That Turns Your Cream into Butter
- When to Add the Chocolate: Pre-Churn or Post-Churn?
- Why Does Hot Espresso Cause Gelato to Crystallize If Poured Wrong?
- How to Make Nitro Coffee Using a Whipped Cream Dispenser?
- Why Frozen Cream Bases Separate and How to Stabilize Them?
Why Reducing Sugar in Ice Cream Makes It Rock Hard?
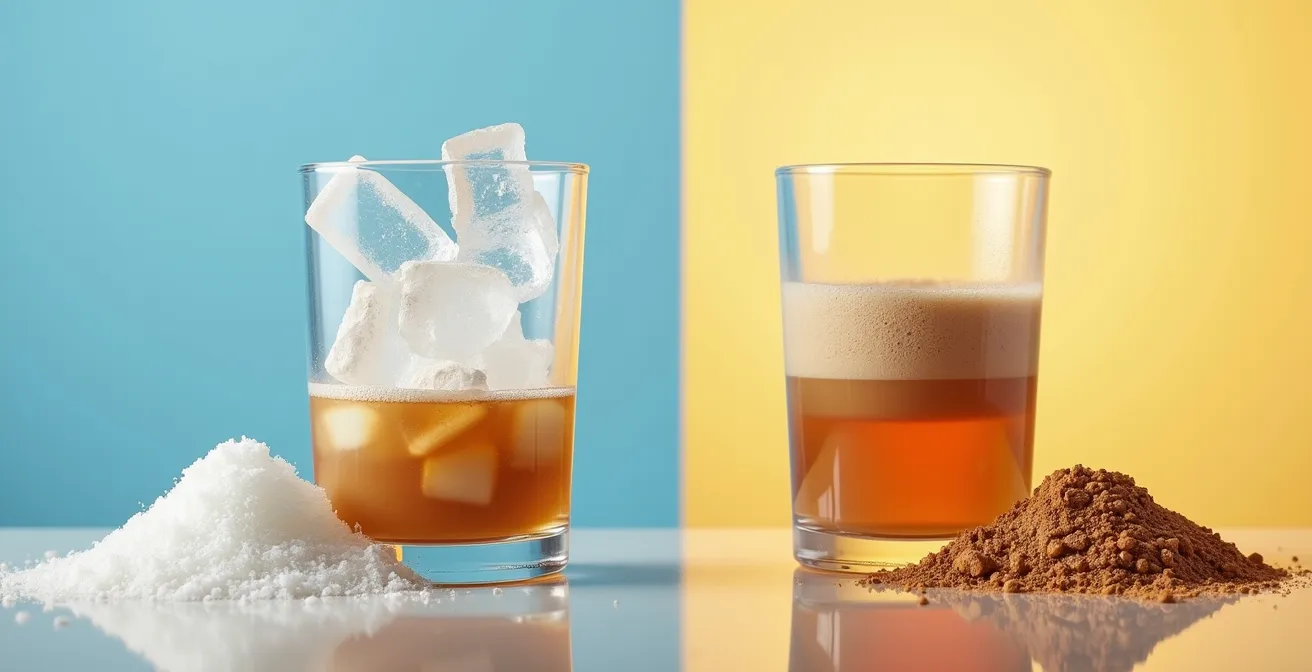
Sugar’s role in ice cream extends far beyond simple sweetness; it is a primary tool for texture management. Its most crucial function is freezing point depression. When sugar dissolves in the water of the ice cream base, its molecules physically interfere with the water molecules’ ability to organize into a rigid ice crystal lattice. This means the base must reach a lower temperature to freeze, resulting in a softer, more scoopable product. Reducing sugar content raises the freezing point, allowing more water to turn into solid ice at a given temperature, leading to a rock-hard final product.
The size of the ice crystals is the determining factor in perceived texture. Scientific analysis shows that ice crystals between 10-45 μm are undetectable by the human tongue, creating a sensation of smoothness. Once crystals grow larger than 50 μm, the texture becomes coarse and grainy. A sufficient concentration of sugar helps keep these crystals small by binding water molecules and increasing the viscosity of the base, which slows down crystal growth during freezing.
To optimize this effect, it’s not just about the amount of sugar, but the type of sugar. Standard table sugar (sucrose) is effective, but blending it with other sugars like glucose, dextrose, or corn syrup provides superior results. These sugars have a different molecular structure and offer greater freezing point depression, resulting in an even softer texture without adding excessive sweetness. This is the secret professional ice cream makers use to control texture with precision.
As the visual demonstrates, different sugar molecules act as obstacles, preventing the formation of large, organized ice structures. By using a blend of sugars, you create a more complex and effective barrier against crystallization, ensuring a smoother final product. Mastering this balance is the first major step in eliminating iciness from your homemade coffee ice cream.
Action Plan: Implementing Advanced Sugar Blends
- Replace up to 25% of the regular sucrose with light corn syrup to increase viscosity and inhibit large crystal formation.
- Consider using an inverted sugar syrup, which is more effective at lowering the freezing point than sucrose, for a noticeably softer texture.
- Incorporate monosaccharides like glucose or fructose powder, which have a higher anti-freezing power and contribute less sweetness per gram than sucrose.
- Experiment with natural sweeteners like honey or maple syrup in small quantities, as their composition also helps prevent crystallization.
- Always dissolve all sugars completely in the base while it’s warm to ensure they are fully integrated and can perform their function.
How to Steep Coffee in Cream Instead of Adding Watery Espresso?
The most direct cause of ice crystals in coffee ice cream is the addition of excess water. A shot of espresso or a cup of strong brewed coffee can contain over 90% water, which, when added to a dairy base, dramatically increases the amount of “free water” available to form large ice crystals. The superior method for infusing intense coffee flavor without compromising texture is to steep coffee directly in the dairy. This technique transfers the aromatic oils and flavor compounds from the coffee beans into the fat of the cream and milk, leaving the excess water behind.
There are two primary steeping methods: cold brew infusion and hot steeping. The cold brew method involves soaking coarsely ground coffee beans in the cold milk/cream mixture for 12 to 24 hours in the refrigerator. This gentle process extracts a deep, smooth, and less acidic coffee flavor. The hot steeping method is faster; you warm the dairy, add the coffee beans, and let it infuse off the heat for about 1-2 hours before straining. This extracts a bolder, more robust flavor akin to brewed coffee.
Regardless of the method, the key is to strain the mixture meticulously through a fine-mesh sieve lined with cheesecloth to remove all coffee grounds. Any fine particles left behind can contribute to a “muddy” or gritty mouthfeel. This technique ensures you achieve a powerful coffee taste that is integrated into the very fabric of the ice cream base, rather than being a watery addition that promotes iciness.
This table compares the most common methods for flavoring coffee ice cream, highlighting how steeping (infusion) preserves the ideal texture.
| Method | Flavor Profile | Texture Impact | Time Required |
|---|---|---|---|
| Instant Coffee | Basic, clean flavor | Perfect texture maintained | Immediate |
| Cold Brew Infusion | Deep, less acidic | Smooth, no particles | 24 hours |
| Whole Bean Steeping | Cleaner, less muddy | No fine particles | 2-4 hours |
| Hot Espresso | Strong but can be bitter | Risk of crystallization | 15 minutes |
Chunks vs Stracciatella: Which Chocolate Style Melts Better on the Tongue?
When adding chocolate to coffee ice cream, the style of the inclusion dramatically affects the eating experience. Solid chocolate chunks, when frozen to ice cream temperatures, can become hard and waxy. They don’t melt readily in the mouth, creating a jarring textural contrast. This is because the melting point of the chocolate is much higher than the temperature of the ice cream. Your mouth has to do all the work to warm the chunk, which can feel unpleasant and mask the delicate coffee flavor.
Stracciatella, on the other hand, is designed for the cold. The term refers to thin, brittle shards of chocolate created by drizzling melted chocolate into the nearly frozen ice cream. To achieve the perfect stracciatella, high-quality chocolate is melted with a small amount of a neutral oil, like coconut or vegetable oil. This oil serves a critical purpose: it lowers the overall freezing point of the chocolate mixture. The result is a chocolate that remains brittle but not rock-hard at freezer temperatures.
When you eat stracciatella-style ice cream, the thin shards shatter instantly and melt on contact with your tongue, releasing their flavor and blending seamlessly with the creamy coffee base. This creates a harmonious experience rather than a disruptive one. The key is the thermal shock: the hot melted chocolate hits the cold ice cream and fractures into delicate pieces. This technique is best performed while transferring the ice cream from the churn to its storage container, not in the machine itself, to create long, elegant shards rather than small, gritty specks.
The Churning Error That Turns Your Cream into Butter
The churning process has two primary goals: to incorporate air (called “overrun”) and to freeze the base while continuously breaking up ice crystals to keep them small. However, there is a fine line between perfectly churned ice cream and over-churned disaster. The most common churning error is simply letting the machine run for too long. Cream is an emulsion of fat globules suspended in water. The constant, aggressive agitation of the churner’s dasher can break this emulsion, causing the fat globules to clump together. When this happens, you are no longer making ice cream; you are making sweetened, frozen butter.
The visual signs of over-churning are distinct. The mixture will lose its smooth, glossy appearance and begin to look grainy or curdled. It may also start to separate, with a watery, icy component and a greasy, fatty component. If you see this, the damage is irreversible for that batch. Professional machines are especially powerful and can over-churn a base in a matter of minutes if not monitored closely.
The ideal endpoint for churning is when the ice cream has reached the consistency of thick, soft-serve. A typical home machine will take about 20-30 minutes to reach this stage. The ice cream should have pulled away from the sides of the bowl and be mounding on the dasher, but it should not be stiff. At this point, you must stop the machine. The final freezing and hardening process should happen statically in a cold freezer, not dynamically in the churner. Stopping the churn at the right moment preserves the delicate fat emulsion, which is essential for a creamy mouthfeel and for preventing a greasy or buttery texture.
When to Add the Chocolate: Pre-Churn or Post-Churn?
The timing of adding mix-ins like chocolate chunks or swirls is a critical step that directly impacts both the texture of the inclusion and the ice cream base itself. Adding them too early can lead to several problems. If added at the beginning of the churn, solid chunks will be pulverized by the dasher into a gritty powder, and liquid swirls will be fully incorporated, muddying the color and flavor of the base. Furthermore, adding room-temperature mix-ins to the churning base can slightly warm it, promoting the growth of larger ice crystals.
The universally accepted professional technique is to add all mix-ins during the last 30 to 60 seconds of churning. According to recommendations from professional ice cream makers, this is just enough time to evenly distribute the inclusions without breaking them down or compromising the base’s temperature. For solid chunks, it’s also vital to pre-chill them thoroughly in the freezer for at least 30 minutes. Adding frozen chunks to a nearly frozen base minimizes temperature shock and helps maintain the small crystal structure you’ve worked to create.
As discussed previously, stracciatella is a special case. The melted chocolate mixture should not be added to the churning machine at all. Instead, it should be drizzled in thin streams as you are transferring the finished soft-serve-consistency ice cream into its final, pre-frozen storage container. This method creates the signature brittle shards. After churning and adding mix-ins, the ice cream must be transferred quickly to the freezer for “hardening” or “ripening.” This final freezing stage is best done at a very low temperature. Indeed, Creamarie’s research indicates that storage temperature below -18°C (0°F) is ideal for locking the small crystal structure in place and preventing them from growing larger over time.
Why Does Hot Espresso Cause Gelato to Crystallize If Poured Wrong?
Pouring hot liquid, like a fresh shot of espresso, into a cold ice cream base is a recipe for textural disaster. This action triggers a phenomenon known as thermal shock. When the hot liquid hits the cold base, it melts the tiny, nascent ice crystals that have already formed. Then, as the mixture re-freezes, this newly introduced pool of water freezes slowly and without the agitation of the churner, forming very large, crunchy ice crystals. You are essentially creating isolated icy pockets within your otherwise smooth base.
The only scenario where hot espresso and ice cream mix successfully is in an affogato, where it’s poured over a finished, fully frozen scoop for immediate consumption. It should never be incorporated into the base during preparation. If you must use a liquid coffee concentrate instead of steeping, it must be chilled to the same temperature as your base (ideally below 4°C / 40°F) before being combined. This principle of temperature parity is non-negotiable for a smooth texture.
Professional chefs like Fany Gerson and culinary experts like Martha Stewart emphasize keeping every component and piece of equipment as cold as possible throughout the process. This includes pre-freezing the churner bowl for at least 24 hours, chilling the base for at least 4-8 hours, and using a pre-frozen storage container. By minimizing temperature differences at every stage, you create an environment where small crystals can form quickly and are prevented from melting and refreezing into larger, undesirable structures. Adding any hot or even room-temperature ingredient fundamentally undermines this core principle.
How to Make Nitro Coffee Using a Whipped Cream Dispenser?
For the hobbyist looking to push their technique to the next level, a whipped cream dispenser charged with a nitrous oxide (N2O) cartridge offers an advanced method for improving texture. While commonly used for making “nitro coffee” as a beverage, this tool can be adapted to pre-aerate and stabilize an ice cream base. This technique emulates the effect of professional-grade churners that incorporate a precise amount of air (overrun) to create a lighter, less dense, and creamier mouthfeel.
The process involves chilling your finished, unstrained coffee ice cream base until it’s near-freezing. You then pour it into the whipped cream dispenser, filling it no more than two-thirds full to allow for expansion. After sealing the canister, charge it with a single N2O cartridge and shake vigorously for about 30 seconds. The pressurized gas dissolves into the liquid base. When you dispense the base, the gas rapidly expands, creating a very fine, stable foam. This “nitro-infused” base can then be poured directly into your ice cream churner.
This pre-aeration provides two key benefits. First, it introduces a high volume of very small, evenly distributed air bubbles. These bubbles act as a physical barrier, similar to fat globules, that obstruct the growth of ice crystals. Second, it gives the churning process a head start, helping to achieve the desired overrun and soft-serve consistency more quickly, which can reduce the risk of over-churning and turning the cream to butter. While not a necessary step, it’s a powerful technique for those seeking the ultimate control over the final texture and density of their coffee ice cream.
Key Takeaways
- The secret to smooth ice cream is controlling crystal size through scientific principles like freezing point depression, not just following a recipe.
- Adding flavor via steeping coffee beans in cream is superior to using liquid coffee, as it minimizes the introduction of texture-destroying water.
- The entire process is a battle against heat; keeping the base, machine, and storage containers as cold as possible is non-negotiable.
Why Frozen Cream Bases Separate and How to Stabilize Them?
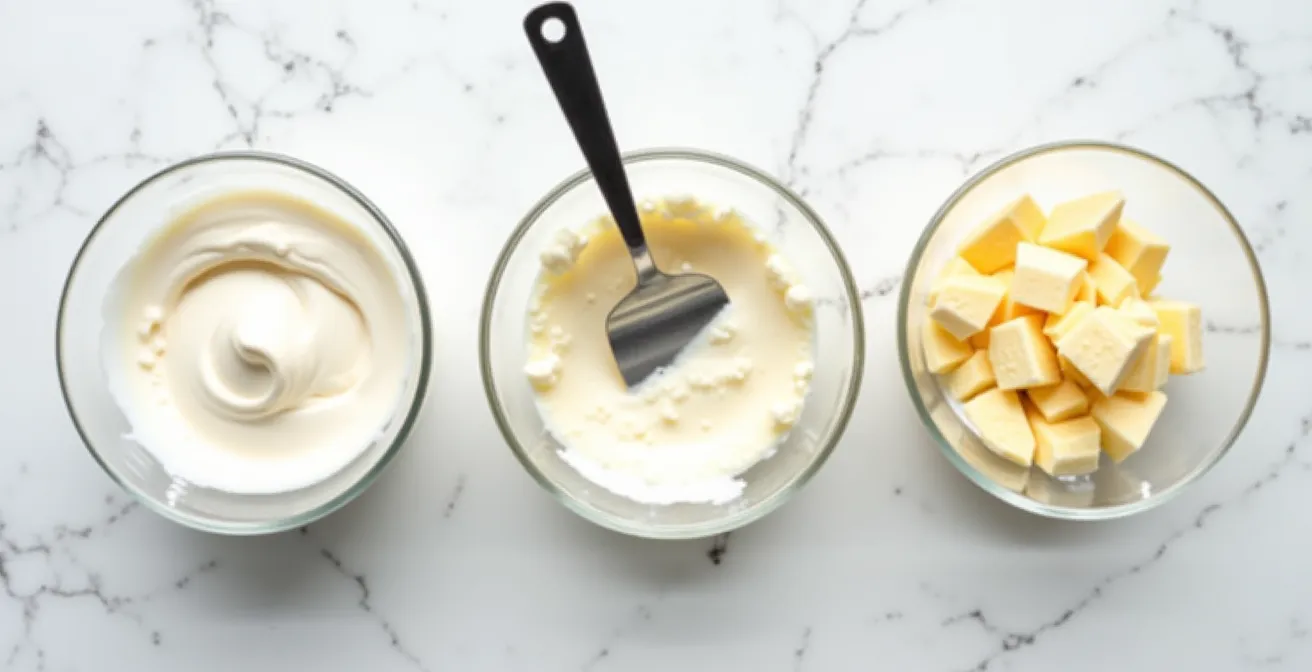
A perfectly smooth ice cream is a complex and fragile emulsion—a stable mixture of water, fat, air, and sugar. When this emulsion breaks, the base can separate, leading to a greasy mouthfeel or an icy texture. This is often a problem during storage, a process called “heat shock” or ripening, where slight temperature fluctuations (like opening and closing the freezer door) cause small ice crystals to melt and then refreeze into larger ones. To combat this, you need stabilizers.
Stabilizers are ingredients that help to keep the emulsion intact. They work by binding with free water molecules, increasing the viscosity of the base, and preventing the fat from separating. For a hobbyist, the most accessible and effective stabilizer is already in your kitchen: egg yolks. The lecithin in egg yolks is a powerful emulsifier that creates a rich, creamy, and very stable custard base (also known as a “French-style” or “Philadelphia-style” ice cream). Cornstarch can also be used to create a pudding-like body that helps bind water.
For even greater stability, especially for long-term storage, you can turn to professional-grade stabilizers like xanthan gum or guar gum. These need to be used in very small quantities (e.g., 1/8 teaspoon per quart) as overuse can result in a gummy texture. Skim milk powder is another secret weapon; it adds milk solids (proteins and lactose) that absorb free water and contribute to a chewier, more commercial-style texture. Research is even exploring advanced options; a University of Tennessee study found that cellulose nanocrystals were incredibly effective at preventing crystal growth. While not available to home cooks, it shows the importance of stabilization in food science.
This table outlines common stabilizers and their ideal applications for the home cook.
| Stabilizer | Dosage | Effect | Best For |
|---|---|---|---|
| Egg Yolks (Lecithin) | 2-4 per quart | Emulsification, richness | Custard-based ice creams |
| Cornstarch | 1-2 tsp per quart | Pudding-like body | Lighter ice creams |
| Xanthan Gum | 1/8 tsp per quart | Crystal prevention | Long-term storage |
| Skim Milk Powder | 2-3 tbsp per quart | Water binding | Commercial-style texture |
By applying these technical principles—controlling sugar for freezing point depression, infusing flavor without water, managing the churn, and stabilizing the emulsion—you move from simply following a recipe to engineering a texture. This food science approach is the definitive path to eliminating ice crystals and achieving a consistently smooth, creamy, and professional-quality homemade coffee ice cream.