
The secret to a perfect molten lava cake isn’t nervously watching the oven; it’s building a thermal ‘failsafe’ into the cake *before* it bakes.
- Create a frozen ganache core to act as a thermal buffer, ensuring the center melts while the outside bakes.
- Use a double-layer buttering technique to create a non-stick barrier for a flawless release.
- Run a single-cake “calibration test” to find your oven’s precise golden time, eliminating all guesswork.
Recommendation: Master these controlled preparation steps to remove all baking-day anxiety and serve a perfect lava cake with confidence.
The moment of truth arrives. You pull the ramekins from the oven, your heart pounding. As your guests watch, you invert the cake onto a plate. Will it be the glorious, flowing river of chocolate you promised, or a tragically solid, muffin-like disappointment? This single fear turns what should be a triumphant dessert into a source of immense stress for any dinner host. You’ve heard the usual advice: “watch the edges,” “don’t overbake,” “every oven is different.” While true, these tips rely on guesswork and a prayer, not a strategy.
But what if the key wasn’t about anxiously peering through the oven door? What if the secret to a guaranteed liquid center had less to do with timing the bake and more to do with engineering the cake itself? The solution lies in creating a thermal failsafe—a controllable element that protects the molten core from the oven’s intense heat. It’s about shifting control from the unpredictable final minutes of baking to the calm, methodical steps of preparation. By focusing on the cake’s internal structure and temperature differential from the very beginning, you can make a perfect molten center an inevitability, not a happy accident.
This guide will walk you through a stress-free, timing-focused approach. We will deconstruct the process, giving you control over every variable, from the ganache core that guarantees a liquid center to the plating techniques that make even a broken cake look like a masterpiece. Prepare to leave the baking anxiety behind for good.
This article breaks down the foolproof method into clear, manageable steps. Explore the sections below to master each component and build your confidence for a perfect result every time.
Table of Contents: A Guide to Flawless Molten Chocolate Cakes
- Why Freezing the Ganache Center Guarantees Success?
- How to Butter Molds to Ensure Instant Release?
- Cake Flour vs All-Purpose: Which Makes a Tender Shell?
- The Oven Mistake That Solidifies the Core in 1 Minute
- When to Unmold: Immediate vs 2-Minute Rest?
- When to Re-Warm Tempered Chocolate: The 2-Degree Rule
- The Baking Mistake That Leaves the Tart Center Raw
- How to Plate Desserts Like a Chef Using Just a Spoon?
Why Freezing the Ganache Center Guarantees Success?
The single most effective strategy for ensuring a liquid core is to stop thinking of the cake as a single batter. Instead, think of it as two separate components: a tender cake shell and a frozen ganache heart. This frozen core is your thermal buffer. While the outer batter is exposed to the oven’s full heat and begins to set, the frozen ganache starts at a much lower temperature. It requires significantly more time and energy to melt and heat up, effectively delaying the cooking of the cake’s absolute center by several minutes.
This built-in delay is your “failsafe.” It creates a much wider margin for error. Even if you bake the cake a minute too long, the outer shell will set, but the core will have just finished melting into a perfect lava flow. Professional chefs have found that the temperature of the ganache *before* freezing is critical. After extensive testing, Nagi from RecipeTin Eats found that cooling ganache to precisely 32°C (90°F) before freezing creates a smoother crystal structure that melts more gracefully. Ganache frozen while it’s still too warm (around 45°C/113°F) can become icy and melt unevenly.
To implement this technique for a perfect result:
- Prepare your ganache. A 1:1 ratio of chocolate to cream will create a high-flow “lava,” while a 2:1 ratio results in a more stable, fudge-like melt.
- Allow the ganache to cool to exactly 32°C (90°F). This step is crucial for achieving the optimal texture upon melting.
- Pipe or spoon small discs of the ganache onto a parchment-lined tray and freeze for at least 30 minutes until completely firm.
- When filling your ramekins, pour in some batter, place a frozen disc in the center, and top with more batter, ensuring the disc is fully submerged.
By using this method, you are no longer just a baker; you are an engineer, building a predictable outcome directly into your dessert. The frozen core handles the timing for you.
How to Butter Molds to Ensure Instant Release?
There’s nothing more heartbreaking than baking a perfectly molten cake only to have it break apart while trying to release it from the mold. The secret to a clean, instant release isn’t just a single layer of butter; it’s creating a robust, bulletproof non-stick barrier. This is achieved with a simple but highly effective “double-chill” method that dramatically outperforms single-layer greasing.
This technique, tested by food blogger Mel of Mel’s Kitchen Cafe across over 100 cakes with a 98% perfect release rate, creates two distinct protective layers. The first layer of butter hardens in the refrigerator, forming a solid base. The second layer adheres to this cold base, creating an extra-slick surface that the final dusting of cocoa powder clings to. When heated, this multi-layered barrier effectively helps the cake steam itself away from the sides of the mold.
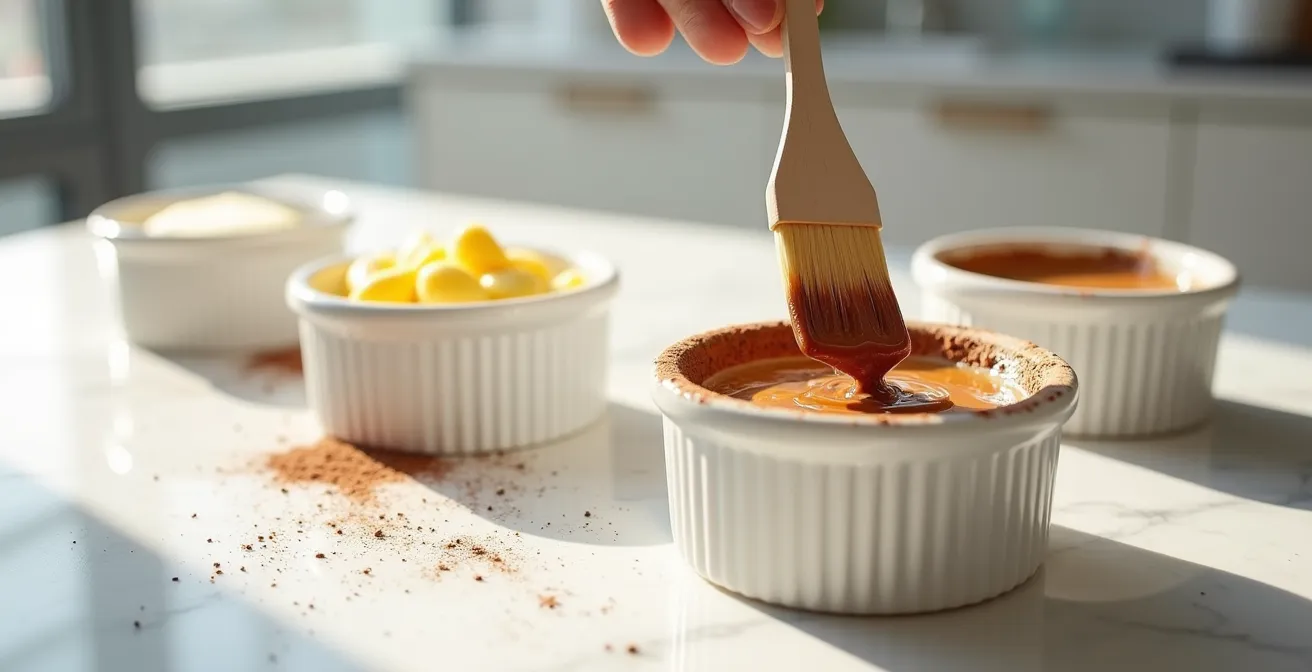
As you can see in the preparation process, this method is meticulous but simple. To build this foolproof release barrier, follow these steps:
- Take softened (not melted) butter and, using a pastry brush, brush a thorough layer inside the ramekin, making sure all strokes go vertically upwards from the bottom to the top. This encourages the cake to rise evenly.
- Place the buttered ramekins in the refrigerator or freezer for 10 minutes, or until the butter is completely hard and chilled.
- Apply a second, equally thorough layer of softened butter over the chilled first layer.
- Add a tablespoon of cocoa powder (or flour, if you prefer) into the ramekin. Swirl and tap it around until the entire interior is coated, then tip out any excess.
This small investment of time at the preparation stage pays huge dividends, providing you with the confidence that your beautifully baked cake will slide out effortlessly every time.
Cake Flour vs All-Purpose: Which Makes a Tender Shell?
The flour you choose directly impacts the final texture of your molten cake’s outer shell, or its “structural integrity.” The key difference lies in protein content. All-purpose flour has a higher protein content (10-12%), which develops more gluten when mixed. This creates a stronger, sturdier “cage” to hold in the molten center, but it comes at a cost: it can easily become tough or rubbery, especially if slightly over-baked. Cake flour, on the other hand, has a very low protein content (7-8%). This results in a beautifully tender, delicate, and fine-crumbed shell that melts in your mouth.
For molten cakes, where the contrast between the liquid center and the delicate exterior is everything, leaning towards a lower protein content is ideal. In fact, many professional bakers recommend a flour protein percentage between 7-9% for the perfect balance of tenderness and stability. If you don’t have cake flour, you’re not lost. You can create a custom blend by using half all-purpose and half cake flour, or by making your own cake flour substitute (for every cup of all-purpose flour, remove two tablespoons and replace them with two tablespoons of cornstarch).
As a detailed analysis of flour types shows, this choice also affects your baking time. A lower-protein flour creates a structure that bakes faster, so you’ll need to reduce your oven time accordingly.
| Flour Type | Protein % | Baking Time Adjustment | Final Texture |
|---|---|---|---|
| Cake Flour | 7-8% | -60 seconds | Tender web, delicate shell |
| All-Purpose | 10-12% | Standard time | Stronger cage, risk of toughness |
| Custom Blend (50/50) | 8-9% | -30 seconds | Ideal balance |
By selecting the right flour, you are making a conscious choice for a more delicate and refined texture, moving your dessert from simply “good” to “unforgettable.”
The Oven Mistake That Solidifies the Core in 1 Minute
You followed every step perfectly, but your cake still came out solid. The most common culprit is an invisible one: your oven’s setting. The number one mistake that turns a molten core into a solid cake in under 60 seconds is using a convection (fan-assisted) setting without adjusting the temperature or time. Convection ovens work by circulating hot air, which cooks food much more efficiently and quickly than conventional (static) ovens. This is great for roasting vegetables, but it’s a death sentence for a delicate dessert that relies on under-baking.
According to baking science, convection ovens require a 25°F (15°C) temperature reduction or a 25% time reduction compared to the instructions for a conventional oven. If a recipe calls for 12 minutes at 400°F, the hot, circulating air of a convection oven can fully cook the center in as little as 9-10 minutes, long before you expect it to be done. To eliminate this variable, you have two options: either turn off the fan setting entirely and use your conventional bake mode, or perform a one-time calibration test to find your oven’s “golden time.”
Instead of relying on vague visual cues like “the edges are set,” use a thermometer to get precise data. Pull the cakes when the outer edge of the cake’s interior reaches 90°C (195°F), while ensuring the very center remains below 70°C (160°F). This is your window for a perfect molten core. A single test bake will give you the exact time *your* oven takes to hit these numbers.
Your Oven Calibration Checklist: Finding Your Golden Time
- Use an instant-read thermometer for this process, not just visual cues.
- Prepare one single lava cake as a test subject. Bake it according to the recipe’s recommended time.
- Note the exact time it takes for the edges to reach 90°C (195°F) while the center remains below 70°C (160°F). This is your oven’s “golden time.”
- If using convection, remember to either reduce the recipe temperature by 25°F (15°C) OR reduce the final golden time by 25%.
- Write this “golden time” down. You have now calibrated your oven for this specific recipe and can bake with total confidence.
By taking a few minutes to run this simple diagnostic, you transform the oven from an unpredictable variable into a reliable tool.
When to Unmold: Immediate vs 2-Minute Rest?
You’ve navigated the bake perfectly, and now you face the final timing decision: when to unmold. Do you flip it immediately for maximum lava flow, or do you let it rest? The answer depends entirely on your desired outcome and confidence level. A short rest allows the cake’s exterior structure to set and strengthen, reducing the risk of collapse. However, it also allows residual heat to continue cooking the center, making it slightly less molten. There is no single “right” answer, only a strategic choice.
The key is to perform a “shimmy test.” With an oven mitt, gently jiggle the ramekin. If the entire cake, including the center, wobbles like Jell-O, it needs another 30-60 seconds in the oven. If only the very center shimmies while the outer 1/2-inch is firm, it’s ready. The rest time you choose next will determine its final consistency. A 1-minute rest is often considered the sweet spot for most bakers, offering a perfect balance of a gooey, flowing center and a stable shell.

For those making cakes ahead of time, a longer rest of 2-3 minutes is ideal. This allows the center to firm up into a soft, fondant-like consistency, making the cake stable enough to be cooled, stored, and later reheated in a microwave for 20-30 seconds, which will re-liquify the center. Use the following chart to make a deliberate choice based on your goal.
| Rest Time | Center Consistency | Shell Stability | Best For |
|---|---|---|---|
| Immediate | Maximum lava flow | Higher collapse risk | Experienced bakers |
| 1 Minute | Perfectly gooey | Stable structure | Sweet spot for most |
| 2-3 Minutes | Fondant-like | Very stable | Beginners/make-ahead |
This decision empowers you to tailor the final product to your specific needs, whether you’re aiming for dramatic presentation or make-ahead convenience.
When to Re-Warm Tempered Chocolate: The 2-Degree Rule
While the title suggests re-warming, the most critical temperature rule in a lava cake recipe applies when you first combine your melted chocolate with your eggs. This is a common point of failure that results in a grainy or split batter. A perfect, silky batter relies on a stable emulsion, and the key to that emulsion is temperature control. If your melted chocolate is too hot when you add the eggs, the eggs will scramble. If your egg mixture is too cold when added to the chocolate, the chocolate can “seize,” turning into a stiff, lumpy mess.
The “rule” isn’t about 2 degrees, but about a slightly larger window. As a guideline, professional pastry chefs work to keep their chocolate and egg mixtures within a 10°C (18°F) window of each other before combining. This prevents thermal shock that would break the emulsion. The ideal target is to have both your whipped egg mixture and your melted chocolate-butter mixture at a “blood temperature” or “lukewarm” state—around 35-40°C (95-104°F).
How do you manage this without stress? It’s simple:
- After melting your butter and chocolate together, set it aside. It needs to cool down from its “hot” state.
- While the chocolate is cooling, begin whipping your eggs and sugar. This process will take a few minutes, which is usually the perfect amount of time for the chocolate to reach the ideal lukewarm temperature.
- Before combining, touch the bottom of both bowls. They should feel roughly the same temperature—neither hot nor cold. This simple sensory check is often all you need.
By respecting this temperature differential, you ensure a smooth, homogenous batter from the start. This foundational step is crucial for the final texture of the cake shell and prevents any unpleasant graininess in the finished product.
The Baking Mistake That Leaves the Tart Center Raw
There’s a fine line between a perfectly molten lava center and a dangerously undercooked one. The question “is the center raw?” is a common source of anxiety for hosts. The reassuring answer is that a properly executed molten cake is not “raw” in a risky sense; it is simply cooked to a temperature that keeps it liquid but also makes it safe. According to food safety experts, eggs are pasteurized and safe to consume once they reach a certain temperature. For a liquid consistency, molten centers must reach a minimum of 63°C (145°F).
This gives you a clear target. We know from our calibration test (in section 4) that we want the center to stay below 70°C (160°F) to remain liquid. This means your “safe and molten” window is between 63°C and 70°C (145°F and 160°F). Hitting this precise window can be influenced by an often-overlooked variable: the material of your molds. Different materials conduct heat at vastly different rates, which can dramatically alter your baking time.
Understanding how your molds behave is another layer of control you can exercise. A common mistake is using a glass ramekin with a time intended for a metal one, resulting in a center that never gets hot enough. Use this guide to adjust your timing:
- Metal Molds (e.g., aluminum): These are excellent heat conductors. They heat up quickly and cook the batter evenly. Use them as your baseline for standard recipe timing.
- Dark-Coated Metal: Dark surfaces absorb more heat, so dark aluminum molds will cook faster. Reduce your standard baking time by 2-3 minutes.
- Glass or Ceramic Ramekins: These materials are insulators. They take longer to heat up, meaning the batter will cook much more slowly. You will need to add 5-7 minutes to your standard baking time.
- Ingredient Temperature: Always use room temperature ingredients (especially eggs and dairy). Cold ingredients straight from the fridge will increase the bake time by 3-5 minutes and risk a dry exterior before the center is ready.
By pairing the knowledge of your mold material with your calibrated oven time, you can confidently hit that perfect, safe, and molten temperature window every time.
Key Takeaways
- The ultimate secret is a frozen ganache core, which acts as a thermal buffer to guarantee a liquid center.
- A double-chill buttering method creates a foolproof non-stick barrier for a clean, stress-free release.
- Your oven is the biggest variable. A one-time “calibration test” using a thermometer eliminates all guesswork.
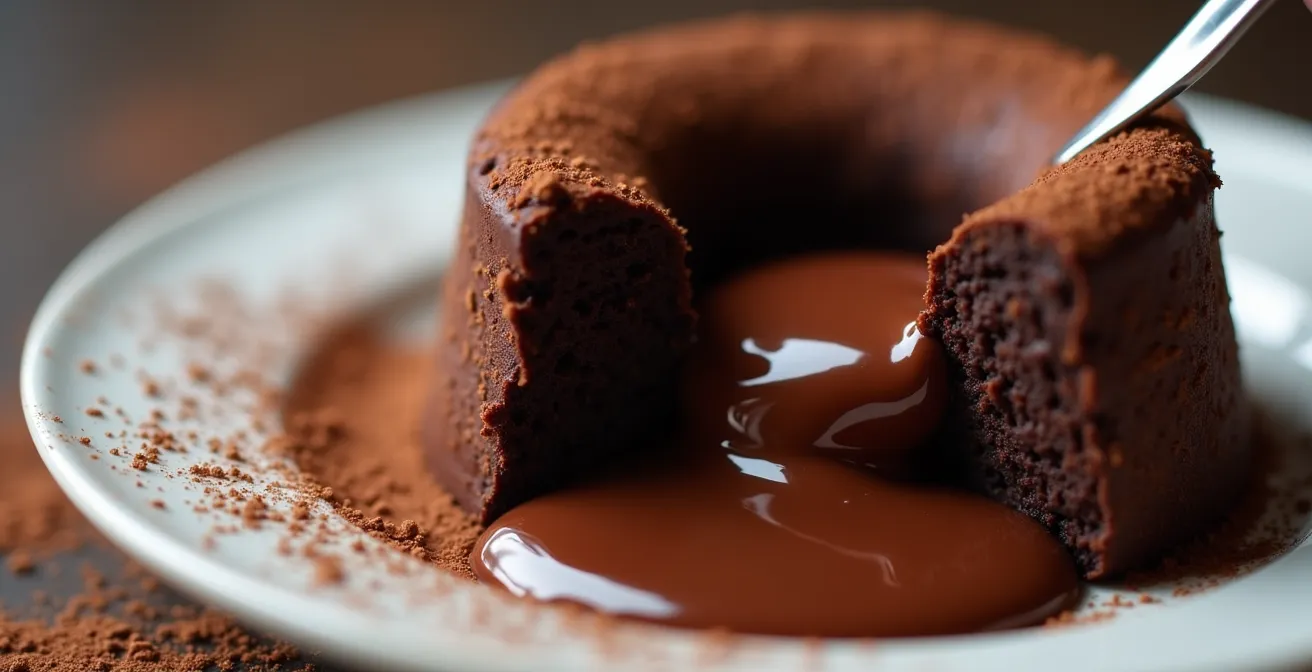
How to Plate Desserts Like a Chef Using Just a Spoon?
After all your careful preparation, the final presentation is your victory lap. But what if disaster strikes? The cake sticks slightly, or a small crack appears. As a host, this is where you can truly shine, because a professional plating strategy not only elevates a perfect cake but also rescues an imperfect one. And all you need is a spoon. The ultimate stress-reliever is knowing you have a “Plan B” that looks just as intentional and delicious.
For a perfect cake, use the classic “sauce swoosh.” Place a spoonful of raspberry coulis, chocolate sauce, or caramel onto the plate. Place the back of the spoon in the center of the dollop and pull it confidently in a clean arc. Position your molten cake at the end of the swoosh for a dynamic, professional look. A simple quenelle of ice cream, also formed with a hot spoon, can sit beside it.
But the real genius of this approach is how it handles failure. If a cake breaks, don’t panic. Embrace the “deconstructed” look. This technique is used in high-end restaurants and turns a mistake into a masterpiece.
Case Study: The ‘Deconstructed’ Plating Rescue
In her guide, professional chef Nagi from RecipeTin Eats demonstrates how to handle a broken cake with confidence. Instead of trying to hide the flaw, she leans into it. The broken pieces are artfully arranged on the plate, allowing the molten lava to pool out naturally. She then strategically places fresh berries or a sprig of mint around the pieces and finishes with a light dusting of cocoa powder. The result is a rustic, beautiful, and honest presentation that looks entirely deliberate.
To master this final touch, whether your cake is perfect or not:
- Practice the sauce swoosh on a spare plate to get a feel for the pressure and speed.
- To make a quenelle, dip a spoon in hot water, wipe it dry, and drag it at a low angle across the surface of slightly softened ice cream.
- If the cake breaks, immediately switch your mindset to “deconstructed.” Arrange the pieces to showcase the molten center.
- Always have garnishes on hand: fresh berries, a mint sprig, a dusting of cocoa powder, or powdered sugar can hide imperfections and add a professional finish.
With these techniques in your back pocket, you remove the final piece of anxiety. There is no failure, only different, equally beautiful presentations.
Now, you can step into the kitchen not with fear, but with a clear, controllable plan. Follow these engineered steps, trust the process, and prepare to present a perfect molten lava cake that will dazzle your guests and, more importantly, let you enjoy the moment with them.