
The “cleanliness” of your coffee is not determined by choosing Immersion over Pour-Over, but by your control over two key variables: filtration and grind uniformity.
- The filter material (paper vs. metal) is the single biggest factor, dictating which oils and micro-particles end up in your cup.
- A uniform grind prevents the creation of “fines” (coffee dust) that clog filters and create muddy, bitter flavors, regardless of the brew method.
Recommendation: Instead of choosing a method, choose your desired level of clarity and master the filtration and grinding techniques required to achieve it with the brewer you enjoy most.
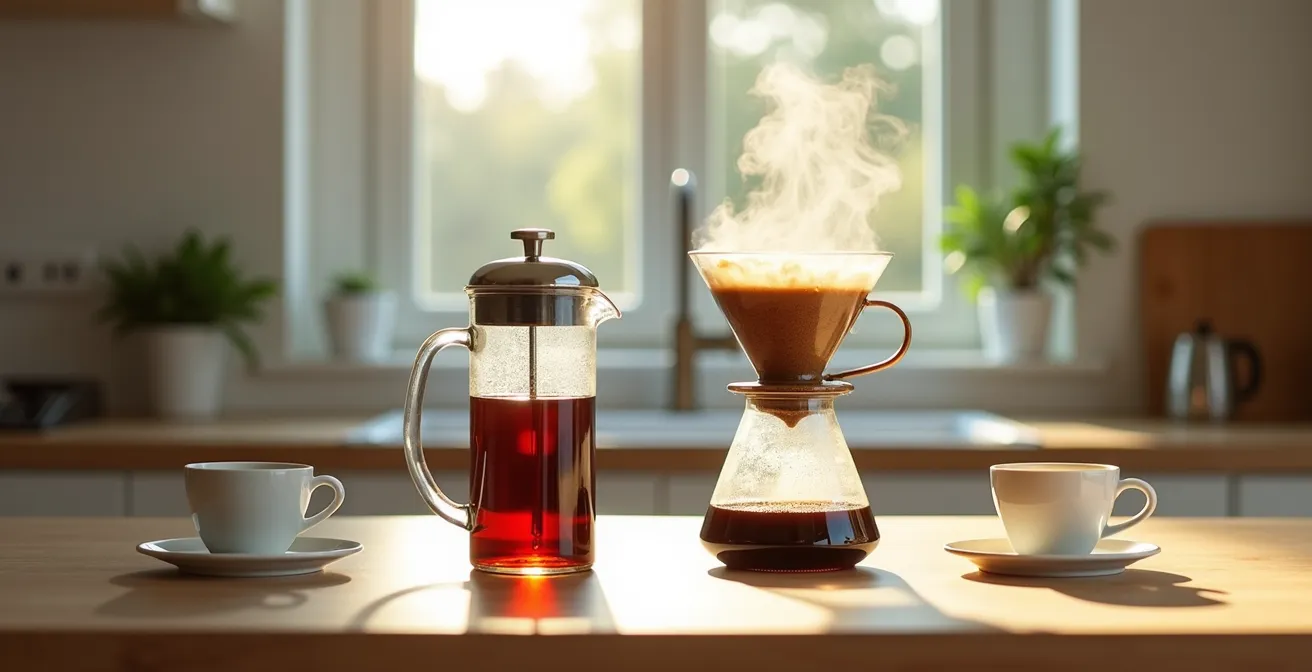
For many coffee drinkers, the journey into specialty coffee begins with a desire to move away from the heavy, intense body of espresso towards something lighter, more aromatic, and nuanced—often described as “tea-like.” This pursuit of clarity inevitably leads to the great debate: immersion versus pour-over. The common wisdom suggests a simple answer: pour-over methods like the V60 or Chemex yield a clean cup, while immersion methods like the French Press are inherently muddy and full-bodied. This, however, is a vast oversimplification.
The truth is that cup clarity is not a feature of the brewer itself, but a result of controllable variables that can be manipulated in *either* brewing style. The real keys to a clean cup lie in understanding the physics of extraction and filtration. Factors like the filter material, the uniformity of your coffee grounds, water temperature, and pouring technique are the true levers you can pull to craft your perfect brew. Focusing on the brewer is like blaming the pen for a poorly written story; the technique is what truly matters.
This guide will move beyond the simplistic “Immersion vs. Pour-Over” binary. We will break down the fundamental principles that govern cup clarity, giving you the knowledge to achieve a clean, bright, and articulate cup of coffee, regardless of the equipment you use. We will explore the science of filters, the critical importance of a good grinder, and the techniques that allow you to consistently produce a beverage that lets the coffee’s origin characteristics shine through.
For a different and thought-provoking perspective on this topic, the following video argues for the strengths of immersion brewing. It provides a compelling counterpoint to the common narrative and complements the nuanced approach we explore in this article.
To navigate this detailed exploration, the following summary outlines the key areas we will cover. Each section is designed to build upon the last, providing a comprehensive understanding of how to control clarity in your coffee brewing.
Summary: A Definitive Guide to a Cleaner Cup
- Why Paper Filters Remove Oils That Metal Filters Keep?
- How to Pour Water to Ensure Even Saturation of Grounds?
- Light or Medium: Which Roast Shines in a Chemex?
- The Grinding Mistake That Clogs Your Filter Paper
- When to Use Boiling Water: The Myth of Burning Coffee
- How to Brew Yirgacheffe to Maximize Jasmine Aromas?
- Metal Mesh vs Silicone Seal: Which Presses Cleaner?
- How to Grind Coffee Specifically for a V60 to Avoid Clogging?
Why Paper Filters Remove Oils That Metal Filters Keep?
The single most impactful decision you can make for cup clarity is your choice of filter material. This choice has a greater effect than the brewer’s shape or brand. Paper filters are designed with a dense, fibrous matrix that excels at trapping not only the finest coffee particles (micro-grounds) but also the majority of the coffee’s natural oils. These oils, which contain compounds like cafestol and kahweol, are largely responsible for the heavy body and rich texture found in unfiltered coffee like that from a French Press.
The science is clear on this. In-depth research has shown that paper filters retain a significant amount of these oils. Clinical studies have even demonstrated that switching from an immersion method with a metal filter to a paper-filtered method can measurably reduce total cholesterol, as the oil compounds are effectively captured. Espresso, for example, can contain up to 20 times more cafestol than paper-filtered drip coffee. This oil-trapping ability is what gives paper-filtered coffee its characteristic light body, crispness, and ability to showcase bright, acidic notes that might otherwise be muted.
Metal filters, conversely, are perforated screens. While they hold back the larger coffee grounds, they allow all the oils and many of the micro-grounds to pass through into the cup. This results in a brew with a full, rich body and a more viscous mouthfeel, but it comes at the cost of clarity and flavor separation. The following table breaks down the fundamental differences in cup profile based on the filter material.
| Filter Type | Oil Retention | Micro-grounds | Cup Profile |
|---|---|---|---|
| Paper | High absorption | Fully filtered | Clean, bright acidity |
| Metal | No absorption | Some pass through | Full body, oils present |
| Cloth | Minimal absorption | Fully filtered | Medium body, clean |
How to Pour Water to Ensure Even Saturation of Grounds?
Once you’ve chosen your filter, the next variable to master is water application. An unevenly saturated coffee bed will lead to uneven extraction, where some grounds are over-extracted (imparting bitterness) and others are under-extracted (imparting sourness). This combination creates a muddled, indistinct flavor profile, the very opposite of a “clean” cup. The goal of your pouring technique is to ensure every coffee particle receives an equal opportunity to interact with the water.
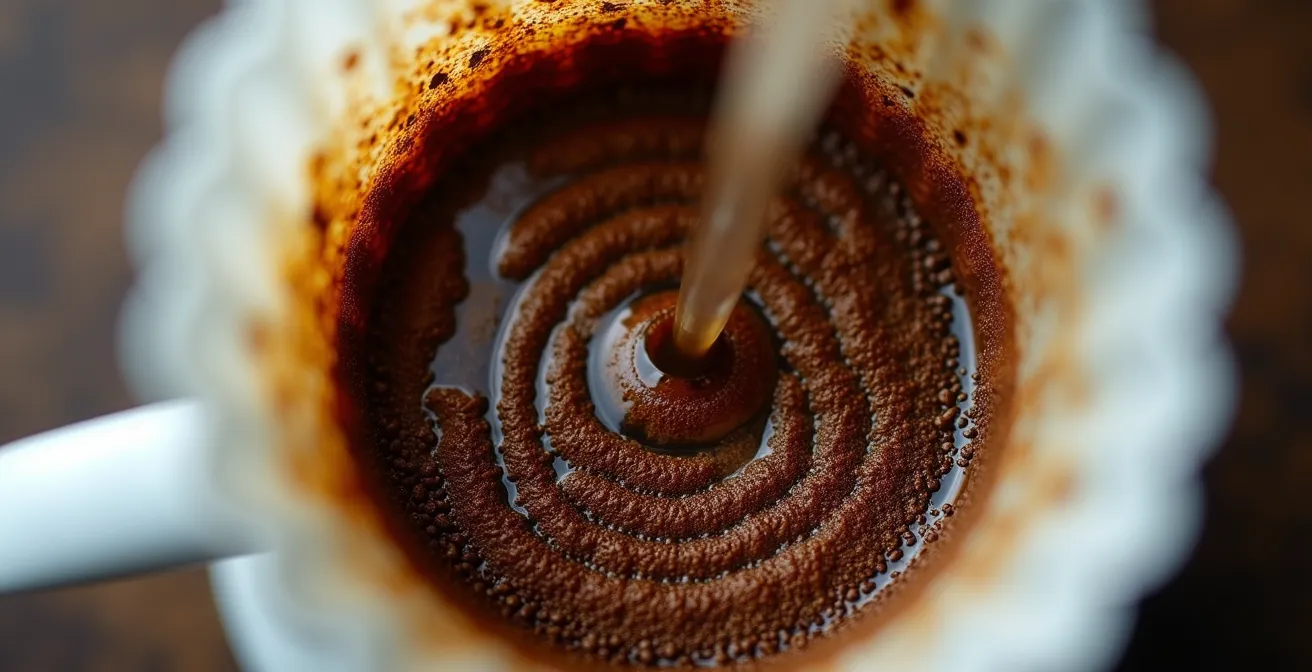
For pour-over methods, this is achieved through a controlled and deliberate pouring pattern. The most common and effective method involves a gentle, circular motion. You begin at the center of the coffee bed and slowly spiral outwards towards the edge, then back inwards, avoiding pouring directly onto the filter paper itself. This gentle agitation helps lift the grounds and promotes uniform saturation. It’s also crucial to control the height of your pour; a gooseneck kettle allows you to pour from a low height (around 5-10cm), which minimizes disruption to the coffee bed and prevents channeling, where water finds a path of least resistance and bypasses most of the coffee.
The initial “bloom” phase is also critical. By pouring a small amount of water (typically twice the weight of the coffee grounds) and letting it sit for about 30 seconds, you allow trapped CO2 to escape. This “de-gassing” prevents the gas from repelling water during the main brew, ensuring a more even saturation from the very beginning. Whether you use a series of small “pulse” pours or one continuous pour, the objective remains the same: maintain a stable and consistent water level over the grounds to promote a uniform extraction.
Light or Medium: Which Roast Shines in a Chemex?
The choice of coffee roast is not just a flavor preference; it has physical implications for brewing. Lightly roasted coffees are physically denser, harder, and less soluble than their darker-roasted counterparts. They retain more of their complex origin acids and delicate floral or fruity aromatic compounds, which are the very notes a “clean brewing” enthusiast seeks to highlight. Medium roasts offer a balance, developing more caramelized sweetness while still retaining significant origin character.
When using a brewer known for exceptional clarity, like the Chemex, light roasts are often the preferred choice. The reason lies in the synergy between the bean’s properties and the brewer’s design. The Chemex uses a uniquely thick paper filter, which results in a slower water flow, or “drawdown” time. This extended contact time is perfect for gently and fully extracting the less soluble compounds found in dense, light-roast beans. As coffee authority Matt Perger notes in his work for Barista Hustle, this combination is ideal for unlocking delicate flavors without introducing bitterness.
Light roasts are physically denser and less soluble, containing more complex origin acids. The thick Chemex filter and its characteristic slower drawdown time are perfectly suited to gently and fully extract these delicate compounds without bitterness.
– Matt Perger, Barista Hustle Advanced Coffee Making
This also ties into water temperature. To properly extract the delicate flavors from less soluble light roasts, you need more thermal energy. This is why many coffee experts recommend brewing temperatures of 93-96°C for light roasts, whereas darker, more soluble roasts might benefit from slightly cooler water (88-92°C) to avoid over-extracting bitter compounds. Using a light roast in a Chemex with hot water is a classic combination for achieving a supremely clean, aromatic, and tea-like cup.
The Grinding Mistake That Clogs Your Filter Paper
Beyond filter choice, the most common culprit for a muddy, slow, and bitter brew is a poor grind. The critical mistake isn’t just grinding too fine or too coarse, but producing an inconsistent grind with an excessive amount of “fines.” Fines are microscopic coffee particles, essentially coffee dust, that are created during the grinding process. While some fines are inevitable, a low-quality grinder will produce a large and unpredictable amount.
These fines are the enemy of a clean cup. During brewing, they are highly soluble and extract very quickly, often leading to bitterness. More importantly, they are small enough to migrate through the coffee bed with the flow of water. They eventually collect at the bottom of the filter, clogging the pores of the paper. This chokes the brew, dramatically slowing the drawdown and leading to over-extraction of the entire coffee bed. The result is a bitter, astringent, and “muddy” tasting cup, even when using a paper filter.

This is why a quality burr grinder is universally considered the most important piece of coffee equipment. Unlike blade grinders which shatter beans into a chaotic mix of boulders and dust, burr grinders crush beans between two revolving abrasive surfaces, producing a much more uniform particle size distribution. By minimizing the creation of fines at the source, you ensure a more even extraction and a consistent, un-choked flow of water through the coffee bed. No other upgrade will have a more dramatic impact on the clarity and quality of your brewed coffee.
When to Use Boiling Water: The Myth of Burning Coffee
A persistent myth in home brewing is the fear of “burning” the coffee with water that is too hot. Many guides recommend letting the kettle sit for a minute after boiling, aiming for a temperature between 92-96°C. While this is not bad advice, the underlying fear of “burning” is unfounded and can lead to under-extraction, especially with light roasts. The simple fact is that it is physically impossible to burn coffee with boiling water.
To understand why, we only need to look at the roasting process. As confirmed by numerous sources, coffee is roasted at temperatures exceeding 200°C (400°F). Water, at standard atmospheric pressure, boils at 100°C (212°F). Water that is half the temperature of the roasting process cannot possibly inflict any further “burning” damage. What brewers perceive as a “burnt” or bitter taste from water that’s too hot is simply over-extraction—the water’s high thermal energy has pulled too many soluble compounds from the coffee too quickly.
Case Study: James Hoffmann’s Boiling Water Advocacy
Leading coffee experts like James Hoffmann and Matt Perger actively advocate for using water just off the boil (98-100°C), particularly for light roasts. They argue that as soon as the hot water hits the room-temperature brewer and coffee grounds, it experiences a significant and immediate temperature drop. Starting with boiling water ensures that the “slurry temperature”—the actual temperature of the water and coffee mixture—quickly settles into the ideal extraction range of 92-96°C. Starting with cooler water risks the slurry temperature dropping too low, leading to a weak, sour, and under-extracted brew.
The takeaway is to stop worrying about burning your coffee. For light and medium roasts, using water straight off the boil is often the best practice to ensure you have enough thermal energy for a full and balanced extraction. If the resulting brew tastes bitter, the solution is not to lower the temperature, but to adjust your grind size coarser to slow the rate of extraction.
How to Brew Yirgacheffe to Maximize Jasmine Aromas?
Ethiopian Yirgacheffe is a classic example of a coffee that shines in a clean, tea-like preparation. It’s renowned for its delicate floral notes, particularly jasmine, along with bright citrus and a light body. To maximize these specific aromas, every variable in the brewing process must be tuned to favor aromatic extraction over body and bitterness. A V60 pour-over is an excellent tool for this task.
First, water temperature is key. Using slightly cooler water, around 93°C, helps to preserve the most delicate and volatile floral compounds without extracting deeper, potentially bitter flavors. Second, the grind should be slightly coarser than standard for a V60. This reduces the overall surface area, leading to a slightly faster extraction that emphasizes the coffee’s inherent sweetness and acidity over its body. The pouring technique should also be adjusted; faster, gentler pulse pours will highlight brightness, as opposed to a slow, continuous pour which might build a heavier body.
Jasmine notes are highly volatile aromatics. A pour-over method with a paper filter is ideal because it removes oils that can coat the palate and mask these delicate florals, allowing them to be perceived more clearly.
– Specialty Coffee Association, Sensory Analysis Handbook
The total brew time should be targeted for a slightly faster range, between 2:15 and 2:45, to prioritize the initial, most aromatic phase of the extraction. Finally, a crucial but often overlooked step is to perform a vigorous swirl of the carafe before serving. This aeration helps to release the volatile aromatic compounds that have been trapped in the liquid, creating a much more expressive and fragrant nose. By fine-tuning these variables, you can transform a great Yirgacheffe coffee into an exceptional aromatic experience.
Metal Mesh vs Silicone Seal: Which Presses Cleaner?
While pour-over methods are the default for a “clean” cup, it’s a mistake to write off immersion brewing entirely. The perception of immersion as “muddy” comes largely from the standard French Press with its basic metal mesh filter. However, by applying our understanding of filtration, we can see how modern immersion brewers or aftermarket accessories can produce surprisingly clean cups. The question then becomes not about the method (immersion) but the specific filtration system within it.
The key is the fineness of the filter. As a baseline, the fineness of metal mesh filters typically ranges from 150-200 microns for a standard French Press. This is coarse enough to allow significant sediment and all oils to pass through. However, premium metal filters, like those available for the AeroPress, can be as fine as 70-100 microns, or even finer. This dramatically reduces the amount of sediment in the final cup. A quality silicone seal on the plunger also ensures that no grounds can bypass the filter during the press, which is a common issue in older or cheaper French presses.
The AeroPress is the ultimate case study in manipulating an immersion brew for clarity. By default, it uses a paper filter, producing a very clean, full-immersion brew. But its versatility allows for a wide range of outcomes, as shown in the table below, which highlights how different filter combinations within the same brewer can be used to target a specific profile.
| Filter Setup | Clarity Level | Body | Oil Content |
|---|---|---|---|
| Paper only | Highest | Light | Minimal |
| Metal only | Low | Full | High |
| Metal + Paper hybrid | High | Medium-full | Moderate |
This demonstrates our core thesis perfectly: by using a hybrid of a metal and paper filter in an immersion brewer, you can achieve the high clarity of a paper filter while retaining some of the body from the oils that metal allows through. The control is in the filtration, not the method.
Key Takeaways
- Cup clarity is primarily dictated by your filter material (paper vs. metal), not your brew method (immersion vs. pour-over).
- A uniform grind from a quality burr grinder is essential to prevent filter clogging and the muddy, bitter flavors caused by “fines.”
- All brewing variables—grind, temperature, and pouring technique—can be controlled in any method to achieve your desired flavor profile.
How to Grind Coffee Specifically for a V60 to Avoid Clogging?
We’ve established that grind uniformity is critical. But for a conical pour-over brewer like the Hario V60, which is particularly sensitive to technique, learning how to “dial in” your grind is the final and most important skill to master. Dialing in is an active process of adjusting your grind setting based on taste and time, rather than relying on a static chart. It’s about learning the language of your coffee.
The process is a feedback loop. You start with a baseline grind, brew a cup, and then interpret the results to inform your next adjustment. If the brew finishes too quickly (e.g., under 2 minutes) and tastes thin, watery, or sour, it’s a clear sign your grind is too coarse. The water passed through too fast to extract enough sweetness. The solution is to adjust your grinder to a finer setting.
Conversely, if the brew chokes, drips slowly for an eternity (e.g., over 4 minutes), and the resulting coffee tastes bitter, harsh, or astringent, your grind is too fine. The dense coffee bed trapped the water for too long, over-extracting bitter compounds and likely clogging with fines. The solution is to adjust your grinder to a coarser setting. The “sweet spot” for most V60 recipes is a total brew time between 2:30 and 3:30, resulting in a cup that is balanced, sweet, and complex.
Your Action Plan: Dialing In the V60 Grind by Taste
- Start with a medium-fine grind size, aiming for a texture similar to that of coarse salt. This is your initial benchmark.
- Brew a cup and time it. If the total brew time is under 2:00 and the coffee tastes sour, your grind is too coarse. Adjust your grinder one or two steps finer for the next brew.
- If the brew time exceeds 4:00, the filter is likely choked, and the coffee tastes bitter or dry. Your grind is too fine. Adjust your grinder significantly coarser.
- Continue to make small adjustments until you hit a brew time between 2:30 and 3:30 that produces a balanced, sweet flavor. This is your ideal grind size for that specific coffee.
- Remember that the goal is always grind uniformity. A consistent particle size, even if slightly “wrong,” is better than an inconsistent one that will always clog the filter.
By focusing on these core variables—filtration, grind uniformity, and dialing in by taste—you are now equipped to brew a cleaner, more delicious cup of coffee. The next step is to begin experimenting. Choose one variable, change it deliberately, and taste the result. This is how you move from following recipes to truly understanding your coffee.