
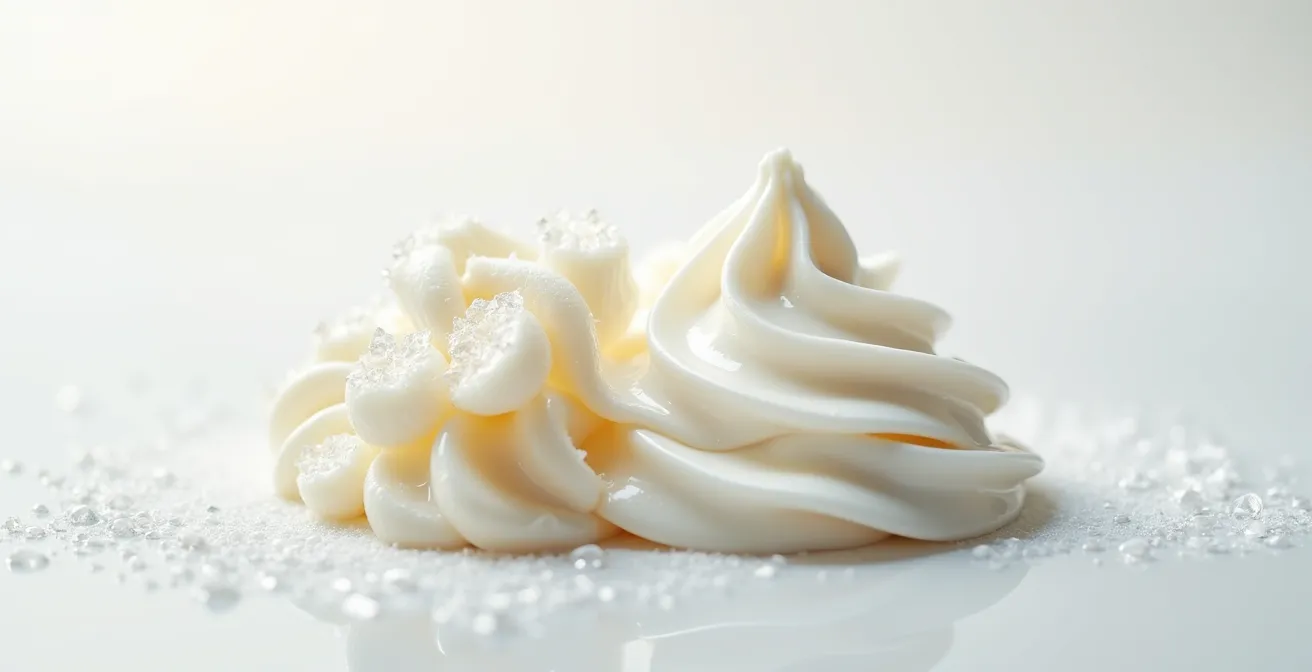
The grainy, separated, or icy texture in your homemade semifreddo isn’t a recipe failure; it’s a breakdown of the dairy emulsion at a microscopic level.
- The primary cause of separation is an unstable network of fat globules that fails to trap air and control water during freezing.
- Controlling variables like fat percentage, whipping stage, and using the right stabilizers are critical for building a robust emulsion matrix that resists ice crystal growth.
Recommendation: Shift your focus from simply following steps to actively managing the fat, water, and air in your cream base. This guide provides the scientific principles to diagnose and solve separation issues for good.
There is a unique frustration that comes from pulling a homemade parfait or semifreddo from the freezer, only to discover it has transformed into a disappointing, grainy, or weepy mess. You followed the recipe precisely, used good quality ingredients, and yet the smooth, creamy texture you envisioned has been replaced by a separated concoction of icy crystals and greasy fat. Many home cooks blame the recipe or assume they made a single, catastrophic error. The common advice is often a simple directive: “use full-fat cream” or “whip it more,” but this rarely addresses the root of the problem.
The truth is, creating a stable frozen cream dessert is less about culinary art and more about applied dairy science. The success or failure of your semifreddo is decided at a microscopic level, in the delicate dance between fat globules, water molecules, and air bubbles. What appears as “separation” is actually the collapse of a complex structure called an emulsion matrix. Understanding this structure is the key to moving beyond frustrating guesswork and gaining precise control over your results.
This guide will not just give you steps to follow; it will equip you with the knowledge of a dairy technologist. We will deconstruct the science behind why cream bases break, why fat percentage is non-negotiable, and how stabilizers are not “cheating” but essential tools for controlling texture. By understanding the “why” behind each technique, you will be able to diagnose issues before they happen and consistently produce flawlessly smooth and stable frozen desserts.
To navigate this deep dive into the science of frozen creams, this article breaks down the most critical factors you need to control. The following sections will guide you through each element, from the role of fat to the proper use of stabilizers, providing a complete framework for mastering your frozen creations.
Summary: A Scientific Approach to Perfect Frozen Cream
- Why Low-Fat Cream Fails to Hold Air When Frozen?
- How to Whip Cream for Semifreddo: Soft Peaks vs Stiff Peaks?
- Cornstarch vs Gelatin: Which Keeps Frozen Cream Smooth?
- The Storage Mistake That Gives Frozen Cream a “Fridge Taste”
- How to Fix a Broken Cream Base Before It Goes in the Freezer?
- 35% vs 40% Cream: Which Whipped Cream Holds Longer?
- When to Use Coconut Milk: The Fat Replacement Ratio for Ganache
- Gelatin vs Egg Whites: Which Stabilizer for a Fluffy Mousse?
Why Low-Fat Cream Fails to Hold Air When Frozen?
When you whip cream, you are performing a controlled act of destruction. The mechanical force of the whisk forces tiny fat globules to partially break open, or “destabilize.” These newly exposed, sticky fat molecules then clump together to form an intricate, three-dimensional lattice. This fat globule network is what traps the air bubbles you are incorporating, creating the light, airy structure of whipped cream. It’s this very network that provides the foundational structure for a semifreddo.
Low-fat cream (typically below 30% butterfat) simply does not contain a sufficient concentration of fat globules to build a robust and stable network. While you may be able to incorporate some air, the resulting structure is fragile and sparse. When you introduce this weak matrix into the freezing process, two things go wrong. First, it lacks the physical strength to hold its structure, leading to collapse and weeping. Second, and more critically, it contains a higher ratio of free water. This excess water, unmanaged by a dense fat network, is free to form large, disruptive ice crystals, resulting in a grainy or icy texture rather than a creamy one.
For a home cook, attempting to make a stable frozen dessert with low-fat cream is an uphill battle against physics. However, if you must work with a lower-fat base, dairy science offers methods to compensate. The goal is to add components that mimic the structural role of fat and absorb excess water. Adding skim milk powder increases the milk solids-not-fat (MSNF), which helps bind water. Judicious use of stabilizers can also create a gel network that provides the support a low-fat base inherently lacks.
How to Whip Cream for Semifreddo: Soft Peaks vs Stiff Peaks?
The advice to “whip cream to stiff peaks” is ubiquitous in baking, but for frozen applications like semifreddo, it can be the direct cause of textural failure. The stage to which you whip your cream dictates the density and stability of the final emulsion matrix. Understanding the difference between soft and stiff peaks is crucial for achieving a smooth, creamy result rather than a spongy, crumbly one.
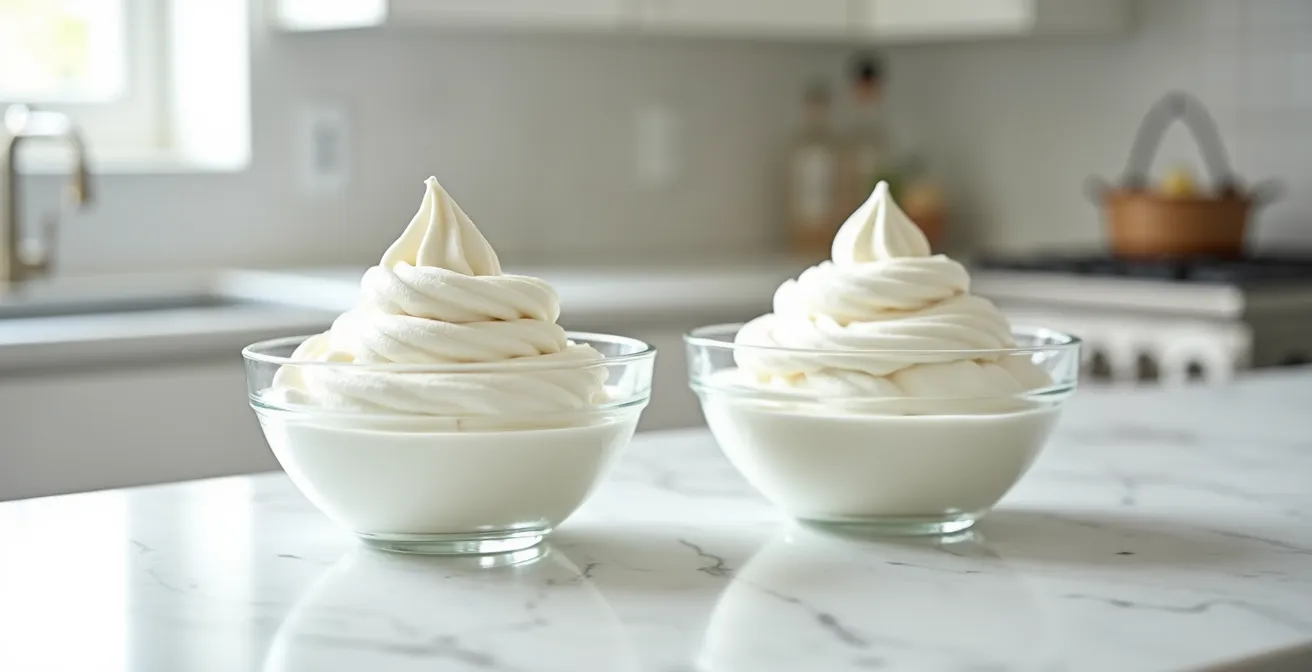
Cream whipped to soft peaks has a flowing, glossy appearance. At this stage, a sufficient fat globule network has formed to hold air, but it remains flexible and dense. This is ideal for a semifreddo because the air bubbles are smaller and more evenly distributed, and the matrix is more resilient. When folded into a custard or purée base, it integrates smoothly, creating a homogenous mixture that freezes into a dense, creamy, and custard-like texture. This structure is also more resistant to the formation of large ice crystals.
Conversely, whipping to stiff peaks continues to incorporate more air, creating larger air pockets and a more rigid, brittle structure. While this is desirable for a dollop on a pie, it’s problematic for a semifreddo. This over-aerated foam is difficult to fold into a base without deflating, creating an uneven texture. The large air pockets are weak points in the frozen matrix; they are prone to collapse during temperature fluctuations and make the dessert feel light but also spongy and less stable. The following table breaks down the key differences in the final product. As a comparative analysis from dessert professionals shows, the choice of whipping stage has a direct and predictable impact on the final mouthfeel.
| Characteristic | Soft Peaks (2-3 min) | Stiff Peaks (4-5 min) |
|---|---|---|
| Final Texture | Dense, custard-like, creamy | Light, mousse-like, fluffy |
| Mouthfeel | Rich, smooth melt | Airy, potentially spongy |
| Stability | More resilient to thawing | Prone to collapse with temperature changes |
| Incorporation Ease | Blends smoothly with base | Difficult to fold without deflating |
| Ice Crystal Resistance | Better – homogeneous matrix | Weaker – large air pockets vulnerable |
Cornstarch vs Gelatin: Which Keeps Frozen Cream Smooth?
Even with the correct fat content and whipping technique, the single greatest threat to a smooth frozen cream dessert is ice crystal recrystallization. During freezing and storage, small ice crystals naturally merge into larger, crunchier ones, turning a once-creamy dessert grainy. This is where stabilizers become essential. They are not additives to be feared but rather hydrocolloids—substances that interact with water to control texture. Cornstarch and gelatin are two common choices, but they work in fundamentally different ways.
Cornstarch is a thickener. When heated, its starch granules swell and absorb free water, increasing the viscosity of the base. This thicker consistency physically impedes the movement of water molecules, making it harder for them to form large ice crystals. However, its primary function is thickening, not gelling, and it can sometimes impart a slightly “chalky” or starchy mouthfeel if used in excess.
Gelatin, on the other hand, is a gelling agent. It forms a microscopic, three-dimensional gel network that traps water molecules within its structure. This is far more effective at preventing ice crystal growth than simple thickening. The result is a smoother, creamier texture with a clean melt-in-the-mouth quality. University research confirms that stabilizers are highly effective; stabilizers can reduce maximum ice crystal diameter from a gritty 55-60 micrometers to a smooth and imperceptible 25 micrometers. While gelatin is superior for smoothness, using too much can create an undesirable rubbery or “panna cotta” jiggle. The real secret used by professionals is not choosing one over the other, but using them in synergy.
Case Study: Professional Stabilizer Synergy Blend
An experiment documented by Ice Cream Calculator tested formulations with no stabilizer, a single stabilizer, and a synergistic blend. The blend, combining locust bean gum (LBG), guar gum, and carrageenan, produced a significantly smoother texture and longer flavor release than any single ingredient. This synergistic effect highlights a key principle: different stabilizers work on different parts of the emulsion. By combining a gelling agent like gelatin or LBG with a thickener and emulsifier, you can achieve optimal smoothness without the drawbacks of using too much of any single ingredient, avoiding both a chalky feel and a rubbery texture.
The Storage Mistake That Gives Frozen Cream a “Fridge Taste”
You’ve crafted a perfect, smooth cream base, only to find that after a week in the freezer, it tastes faintly of last night’s leftovers. This “fridge taste” is a common problem caused by fat’s natural ability to absorb ambient odors. Dairy fat, in particular, is highly susceptible to absorbing volatile compounds from other foods. Storing your dessert in a simple plastic container is often not enough to prevent this flavor contamination, as many plastics are porous.
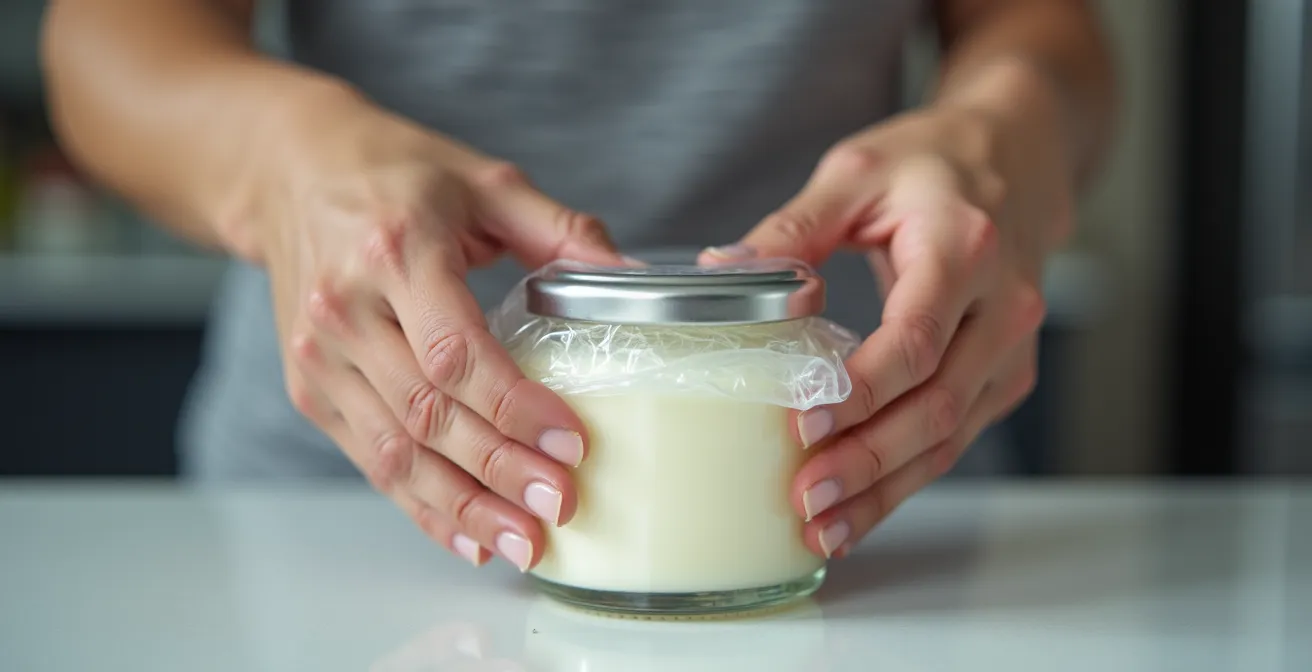
The second enemy of long-term storage is sublimation, where ice on the surface of your dessert turns directly into water vapor, leaving the surface dry and prone to freezer burn. This is exacerbated by air contact. The solution to both odor absorption and freezer burn is a professional technique known as the double-barrier method. It creates two layers of protection to isolate the cream base from the freezer environment.
The first barrier is a layer of plastic wrap pressed directly onto the entire surface of the cream. This step is non-negotiable as it eliminates all air contact, which is the primary vehicle for both odor transfer and moisture loss from the surface. The second barrier is a tightly sealed, non-porous container, preferably made of glass or stainless steel. This provides an additional physical shield against external odors and temperature fluctuations. Following a strict protocol ensures your frozen dessert tastes as fresh as the day you made it.
Your Action Plan: The Professional Double-Barrier Storage Protocol
- Choose non-porous containers like glass or stainless steel, which are superior to plastic in preventing odor permeation.
- Press a sheet of plastic wrap directly onto the cream’s surface, ensuring all air bubbles are pushed out to prevent both oxidation and the formation of surface ice crystals.
- Seal the container with an airtight lid as a secondary barrier, minimizing any remaining headspace to further reduce air exposure.
- Store the container at a consistent temperature of -18°C (0°F) and place it in the back of the freezer, away from the door, to avoid temperature fluctuations that accelerate degradation.
- Label the container with the date of preparation and aim to consume within two months for optimal quality, before fat oxidation inevitably begins to affect flavor.
How to Fix a Broken Cream Base Before It Goes in the Freezer?
A “broken” or “split” cream base, where the mixture appears curdled with grainy bits of fat floating in a watery liquid, is a sign that the emulsion has completely failed. This typically happens when the fat globules have clumped together so aggressively that they are no longer suspended in the liquid, a process called coalescence. It’s often caused by over-whipping, excessive heat, or drastic temperature changes. While it may look like a lost cause, it is often salvageable before freezing if you understand the science of re-emulsification.
To fix a broken base, you need to address two things: you must melt the clumped butterfat back into a liquid state, and then you need to apply sufficient force (shear) to break it back down into microscopic droplets and redisperse them. Gentle heat is the key to the first step, while an immersion blender provides the necessary shear for the second. However, once an emulsion has broken, it is inherently unstable and likely to break again during freezing. Therefore, adding a stabilizer during the rescue process is critical to ensure it holds together. As one expert from the Ice Cream Calculator guide points out, the method of incorporating stabilizers is just as important as their presence.
When adding stabilizers you must always mix them with the sugar and/or other dry ingredients before adding them to the liquid. When adding you must also whisk vigorously or even better use a blender or a stick blender.
– Ice Cream Calculator Expert, Ice Cream Calculator Stabilizer Guide
This advice is doubly important when rescuing a base, as the stabilizer needs to be perfectly dispersed to create a new, protective network around the re-formed fat droplets. Following a precise protocol can turn a grainy disaster into a smooth, stable base.
Emergency Rescue Protocol for a Split Cream Base
Professional ice cream makers have demonstrated the effectiveness of the ‘Gentle Heat + Immersion Blender’ rescue method. In one instance, a two-liter batch of cream base had completely separated. The batch was gently warmed to exactly 40°C (104°F), just enough to soften the clumped butterfat without cooking the proteins. An immersion blender was then used in short, 30-second bursts to re-emulsify the mixture. Crucially, a small amount of xanthan gum and gelatin, pre-mixed with sugar, was added during blending. This provided the necessary stabilization to prevent the base from re-separating during the freezing process, ultimately saving the batch.
35% vs 40% Cream: Which Whipped Cream Holds Longer?
For any whipped cream application, but especially for frozen desserts that require a strong structure, the butterfat percentage is the single most important variable. The difference between a standard heavy cream (around 35-36%) and a high-fat or manufacturer’s cream (40% or higher) may seem small, but it has a dramatic impact on the stability and longevity of the final product.
As previously discussed, whipping cream relies on the partial destabilization of fat globules to form a structural network. A higher butterfat percentage means there is a greater concentration of these globules available to participate in building this network. Think of it as having more bricks to build a wall. With 40% cream, you can build a denser, more intricate, and more robust lattice around the air bubbles. This results in a whipped cream that is not only stiffer but also significantly more stable over time and more resistant to collapse, weeping (syneresis), and the stresses of freezing.
The scientific data is clear on this point. The process of whipping is designed to induce fat destabilization, and higher fat content leads to a more extensive network. According to a study on ice cream science, the level of destabilization is directly correlated with fat content; research data reveals that 40% cream showed 73.2% fat destabilization compared to just 8.8% in lower-fat versions. This massive difference in network formation is why 40% cream provides superior structure and stability, making it the unequivocal choice for frozen applications like semifreddo where the internal structure must withstand freezing without collapsing.
For the home cook, this means that if a recipe calls for heavy cream, opting for the highest percentage available (at least 35%, and ideally 40%) is not an extravagance—it’s an insurance policy against textural failure. The extra fat provides the structural integrity needed for a smooth, stable result that holds its shape beautifully.
When to Use Coconut Milk: The Fat Replacement Ratio for Ganache
While the title of this section references ganache, the principles of using coconut milk as a fat replacement are highly relevant for creating dairy-free frozen cream bases. Replacing dairy cream with a plant-based alternative is not a one-to-one substitution. You must account for differences in fat content, fat type, and the presence of natural solids and emulsifiers to achieve a stable, creamy texture. Full-fat coconut milk or cream is a popular choice due to its high fat content and creamy mouthfeel, but it requires specific adjustments.
The primary fat in coconut is lauric acid, which has a higher melting point than dairy butterfat. This property can be an advantage in frozen desserts, as it helps the product remain firm and scoopable at freezer temperatures. However, coconut cream typically has a lower fat percentage (around 20-24%) than heavy dairy cream (35-40%) and a higher water content. To successfully replace dairy cream, you must both boost the fat content and manage the extra water.
Case Study: Vegan Ice Cream Stabilization Success
Professional vegan ice cream makers leverage the unique properties of coconut fat. One artisan producer successfully transitioned their entire product line to a refined coconut cream base. Their key to preventing the base from splitting during freezing was pre-blending the coconut cream with a small amount (0.3%) of liquid sunflower lecithin. This emulsifier ensures the coconut fat and water stay bound together. The resulting texture was perfectly scoopable at -18°C and, in blind taste tests, was indistinguishable from their original dairy ice cream in terms of mouthfeel.
For a home cook, this means a successful dairy-free frozen dessert requires a formulaic approach. You can’t just swap cans. To replicate a 35% dairy cream, you need to combine full-fat coconut cream with a pure fat source like refined coconut oil and add binders or emulsifiers to create a stable emulsion that won’t break upon freezing.
- To replace 1 cup (240ml) of 35% dairy cream, start with 3/4 cup (180ml) of full-fat coconut cream.
- Add 2 tablespoons of refined coconut oil to increase the overall fat percentage to a level comparable to dairy cream.
- Include 1 tablespoon of a binder like tapioca starch or cashew butter to help absorb free water and increase the total solids.
- Before churning or freezing, blend the mixture with 1/4 teaspoon of an emulsifier like sunflower or soy lecithin to create a stable, homogenous base.
Key Takeaways
- Fat is Structure: The stability of a frozen cream dessert depends on a robust network of fat globules. A minimum of 35% butterfat is non-negotiable for creating this structure.
- Control Your Aeration: Whipping to soft peaks creates a dense, stable foam ideal for freezing. Stiff peaks incorporate too much air, leading to a brittle, spongy texture.
- Stabilizers are Your Friend: Stabilizers like gelatin or synergistic blends are essential tools to control ice crystal growth, the primary cause of grainy texture.
- Storage Matters: A double-barrier storage method—plastic wrap on the surface plus an airtight, non-porous container—is critical to prevent freezer burn and odor absorption.
Gelatin vs Egg Whites: Which Stabilizer for a Fluffy Mousse?
When aiming for a lighter, fluffier texture, as in a frozen mousse, the primary source of aeration and stabilization shifts from whipped cream alone to a combination of ingredients, most commonly gelatin and egg whites. These two stabilizers create structure in fundamentally different ways, and understanding their mechanisms allows you to tailor the final texture of your dessert, from dense and creamy to light and ethereal.
Egg whites create structure by forming a protein-based foam. When whipped, the proteins in the egg whites denature and link together, trapping vast amounts of air. An Italian meringue, where hot sugar syrup is streamed into whipping egg whites, creates a particularly stable and food-safe foam. This method provides immense lift and airiness but results in a delicate structure that can be fragile and melt quickly. It delivers volume and lightness but little in the way of creamy density.
Gelatin, by contrast, provides no aeration. Its power lies in its ability to form a thermoreversible gel. As an expert from Underbelly Ice Cream Science notes, its behavior is uniquely suited to frozen desserts.
The gelatin forms a weak gel that melts at body temperature and strengthens in the cold, so its effect is most pronounced on the ice cream in the frozen state. The xanthan gum’s activity is almost completely independent of temperature.
– Underbelly Ice Cream Science, Ice Cream Stabilizers Research
This means gelatin provides a robust structure in the freezer that prevents ice crystal growth, but it melts cleanly in the mouth for a creamy, not rubbery, sensation. It adds body and stability but does not contribute to the “fluffiness” of a mousse. The most sophisticated approach, used by pastry chefs, is a hybrid technique that leverages the strengths of both: the aeration from egg whites and the stabilizing, creamy body from gelatin. This creates a frozen mousse that is both incredibly light and structurally sound.
By moving beyond simple recipes and embracing these core principles of dairy science, you can transform from a home cook who hopes for the best into a technician who engineers success. Diagnosing, troubleshooting, and preventing textural failures becomes a matter of scientific application, ensuring every frozen cream dessert you create is a model of smooth, stable perfection. To apply these concepts effectively, start by analyzing your current methods and identify which of these scientific principles you can integrate to elevate your results.