
The true difference between Valrhona and Callebaut isn’t taste—it’s technical performance dictated by fluidity and cocoa genetics.
- Fluidity, not brand, determines success in applications like ganache and thin molding.
- Bean variety (Criollo vs. Forastero) impacts flavor complexity, but the quality of your “snap” comes purely from proper tempering technique.
Recommendation: Select your chocolate based on the specific application’s technical needs, not just brand loyalty.
In professional kitchens and high-end bakeries, the debate is perennial: Valrhona or Callebaut? For the semi-professional baker, choosing where to invest a significant budget for couverture chocolate is a decision that extends far beyond simple brand preference. Most comparisons unfortunately stop at surface-level flavor profiles—pitting Valrhona’s characteristic fruitiness against Callebaut’s robust, roasted notes—or the obvious price differential. This approach, however, misses the point entirely for those who demand precision and predictable results.
But what if the key to unlocking a flawless temper, a silken ganache, or a perfect snap doesn’t lie in the brand name on the bag? The real distinction, the one that separates good results from impeccable ones, is rooted in the technical specifications of the chocolate itself. The answer is found in the science: the rheology and fluidity ratings, the genetic makeup of the cocoa beans, and the precise formation of cocoa butter crystals during tempering. These factors, far more than taste alone, dictate how a chocolate will perform under pressure.
This guide moves beyond the palate to provide a sommelier’s technical breakdown. We will deconstruct the properties of these two iconic brands, not to declare a “winner,” but to equip you with the knowledge to select the right Grand Cru for your specific pastry application. We will analyze how fluidity impacts emulsions, why bean genetics don’t determine a chocolate’s snap, and how to master tempering even when the environment is working against you.
To navigate this technical deep dive, here is a look at the critical factors we will dissect to help you master your choice of elite couverture chocolate.
Summary: Valrhona vs. Callebaut: A Technical Guide to Elite Couverture Chocolate
- Why High-Fluidity Chocolate is Bad for Ganache?
- How to Pair Grand Cru Chocolate with Spices Without Masking It?
- Criollo vs Forastero: Which Variety Has a Better Snap?
- The Melting Mistake That Seizes Your $30 Bag of Chocolate
- When to Vacuum Seal Your Chocolate Stash?
- High-Fat vs Low-Fat Cocoa: Which Creates a Fudgier Brownie?
- Why a Light Roast Disappears Behind 80% Dark Chocolate?
- How to Temper Chocolate in a Hot Kitchen Without Bloom?
Why High-Fluidity Chocolate is Bad for Ganache?
A common misconception is that a more fluid, easily melting chocolate is universally better. For applications like ganache, this is a recipe for disaster. A successful ganache is not just melted chocolate and cream; it’s a stable fat-in-water emulsion. The structure depends on a precise balance of fat (from cocoa butter and cream) and water (from cream). As chocolate expert Joe Sofia of Cargill explains, a ganache “must contain enough water-based ingredients to create the continuous phase of the emulsion.” When the chocolate is too fluid, it signifies an exceptionally high cocoa butter content relative to cocoa solids.
This excess fat can easily overwhelm the water phase in the cream, causing the emulsion to break or “split.” The result is a greasy, separated mess rather than a smooth, silken ganache. Chocolates with lower fluidity ratings (often indicated by one or two “drops” on Callebaut packaging, for example) contain a more balanced ratio of cocoa butter to cocoa solids. This balance allows the cocoa solids to properly hydrate and bond with the water in the cream, creating the stable, velvety structure required for perfect truffles, fillings, and glazes.
The table below, based on Callebaut’s widely-used system, illustrates how fluidity dictates application. For ganache, a lower drop rating is not a sign of lower quality, but of superior suitability.
| Fluidity Level | Cocoa Butter Content | Best Applications | Ganache Suitability |
|---|---|---|---|
| 2 Drop | Higher | Ganaches, mousses, creams | Excellent – velvety smoothness |
| 3 Drop | Standard | Molding, enrobing, standard uses | Good – balanced consistency |
| 4 Drop | Highest | Thin shells, panning | Poor – may cause separation |
How to Pair Grand Cru Chocolate with Spices Without Masking It?
When you invest in a Grand Cru chocolate, whether it’s a Valrhona Manjari with its bright red fruit notes or a Callebaut single-origin from Brazil with its tropical intensity, the goal of any pairing is to complement, not conquer. Spices, with their powerful aromatic compounds, can easily overwhelm the delicate and volatile aromatics of a fine chocolate. The secret to a harmonious pairing lies in the infusion technique, which must respect both the nature of the spice and the temperature sensitivity of the chocolate.
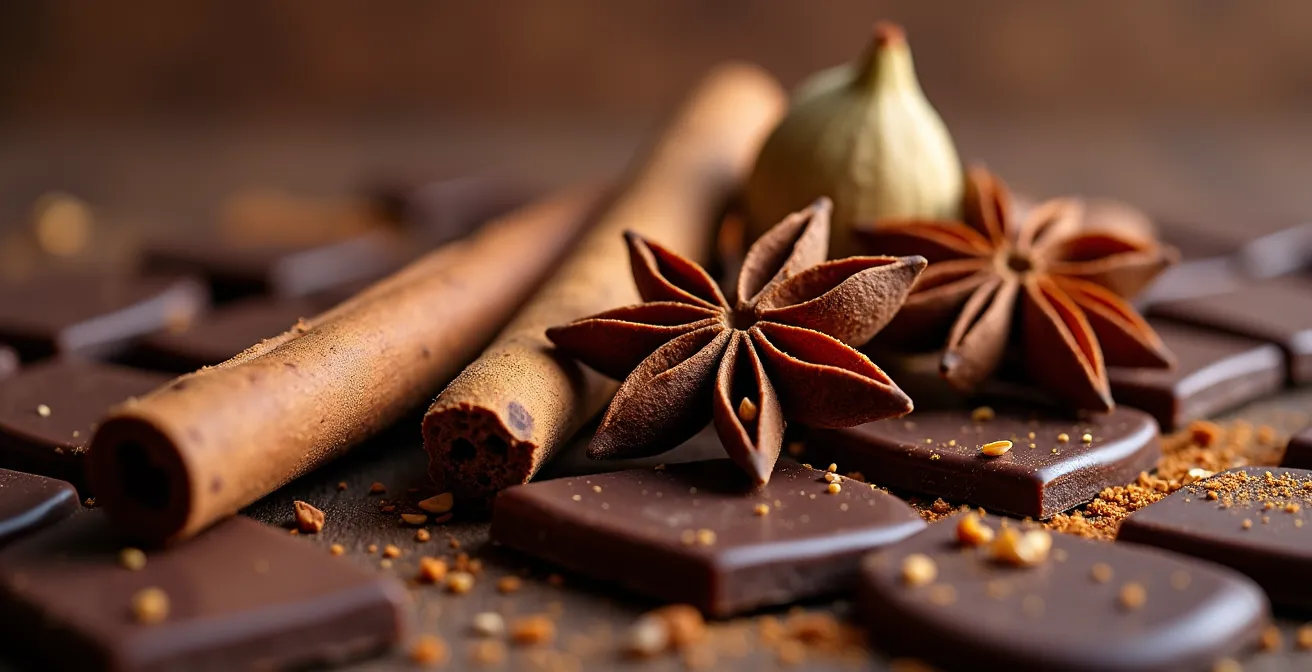
The method of infusion changes dramatically depending on whether a spice’s flavor compounds are heat-stable, heat-sensitive, fat-soluble, or water-soluble. For example, robust spices like cinnamon can be added directly to warm cream, while delicate saffron would lose its character at high temperatures. Fat-soluble flavors like chili or rosemary are best infused into melted cocoa butter to be added later, ensuring their essence is captured without scorching. Mastering these techniques allows you to layer flavors with precision, creating a dialogue between the spice and the chocolate rather than a monologue.
Action Plan: Precision Spice Infusion for Chocolate
- For heat-stable spices (cinnamon, nutmeg), add directly to warm cream at 80°C.
- For heat-sensitive spices (cardamom, saffron), cool cream to 60°C before infusing.
- For fat-soluble spices (chili, rosemary), infuse in melted cocoa butter separately.
- For water-soluble flavors (tea, coffee), steep in cream for 5 minutes before straining.
- Always taste test at room temperature (20°C) for accurate flavor assessment.
Criollo vs Forastero: Which Variety Has a Better Snap?
The genetics of cocoa beans are central to the flavor profiles that define premium chocolate. Criollo beans, the rarest and most prized, are known for their complex, fruity, and less bitter notes. Forastero beans, which according to a 2024 market analysis dominate with 80-85% of global production, provide the robust, classic “chocolatey” and earthy flavors. Valrhona often showcases Criollo in its Grand Crus, contributing to its higher price and complex profile, while Callebaut expertly uses Forastero and its hybrid, Trinitario, for its widely acclaimed consistency.
However, when it comes to the textural quality of “snap,” the bean variety is a red herring. The satisfying, sharp snap of a well-made chocolate bar is not a product of its genetic origin. A comparative analysis from chocolate experts confirms that this property is determined entirely by the proper crystallization of cocoa butter during the tempering process. Specifically, it’s the formation of stable Type V beta crystals, which align into a dense, rigid structure, that creates the snap. This is achieved by carefully controlling temperature, agitation, and cooling, regardless of whether the bean is Criollo, Forastero, or Trinitario.
Therefore, a perfectly tempered Callebaut Forastero bar will have an identical, if not superior, snap to a poorly tempered Valrhona Criollo bar. The choice of bean variety is a decision about flavor complexity and nuance; the quality of your snap is a testament to your technical skill in tempering.
The Melting Mistake That Seizes Your $30 Bag of Chocolate
Every baker dreads it: the moment a beautifully glossy pool of melted chocolate instantly turns into a dull, grainy, and unworkable paste. This phenomenon, known as seizing, is most commonly blamed on a single drop of water. While contact with water is indeed the primary culprit, the science behind it is more nuanced and reveals other risks. Chocolate is a suspension of very fine sugar and cocoa particles in a continuous phase of cocoa butter. When a small amount of water is introduced, it doesn’t dissolve; instead, it acts as a “glue,” causing the sugar and cocoa particles to clump together into gritty masses, instantly thickening the entire mixture.
However, another form of seizing can occur without any water at all, particularly when working with high-percentage dark chocolates. As the King Arthur Baking team notes, working with chocolate above 70% cacao for a ganache can be problematic because “there’s simply too much solid chocolate and not enough liquid” from the cream to create a stable emulsion. This imbalance of solids to liquid can create a thick, pasty texture that mimics seizing. The most devastating melting mistake is overheating. Exposing chocolate to direct, high heat (especially in a microwave or a pot directly on a burner) can scorch the milk solids and sugar, creating a burnt, grainy texture from which there is no recovery. This is why a gentle bain-marie or controlled microwave bursts are non-negotiable for expensive couverture.
While a seized chocolate is no longer suitable for tempering or delicate molding, it doesn’t have to be a total loss. By adding more fat (like vegetable oil or more melted cocoa butter) or a hot liquid (like cream or boiling water) and stirring vigorously, you can often smooth out the mixture enough to be used in brownies, sauces, or as a rustic frosting where a perfect sheen is not required.
When to Vacuum Seal Your Chocolate Stash?
Investing in multiple kilos of Valrhona or Callebaut is a commitment, and protecting that investment from degradation is paramount. Chocolate’s greatest enemies are air, light, heat, and strong odors. Oxygen causes the fats in cocoa butter to oxidize, leading to stale, off-flavors over time. This is where storage methods become critical. While a simple airtight container in a cool, dark place is sufficient for medium-term storage, vacuum sealing offers a superior level of protection for long-term “arching” of fine chocolate.
Professional chocolatiers have found that proper vacuum sealing dramatically slows the oxidation process. This technique can extend the peak freshness of chocolate by up to 5 times compared to standard storage. This is especially crucial for milk and white chocolates, which have higher contents of dairy fats that are more susceptible to rancidity. For the semi-pro baker who buys in bulk to save on cost, vacuum sealing portions of a large bag is an excellent strategy to ensure the last block tastes as fresh as the first.
The decision of when to vacuum seal depends on your consumption rate. For chocolate you plan to use within 6-9 months, a quality airtight container is adequate. For anything beyond that, or for particularly rare and expensive single-origin bars you wish to preserve, vacuum sealing is the professional standard.
| Storage Method | Temperature Range | Shelf Life | Best For |
|---|---|---|---|
| Room Temperature | 60-70°F (15-21°C) | 6 months | Daily consumption |
| Airtight Container | 60-70°F | 9-12 months | Medium-term storage |
| Vacuum Sealed | 55-64°F (13-18°C) | 2+ years | Long-term archiving |
| Refrigerated (wrapped) | 35-40°F | 12-18 months | Hot climate storage |
High-Fat vs Low-Fat Cocoa: Which Creates a Fudgier Brownie?
The conversation around elite chocolate often focuses on couverture, but the quality of your cocoa powder is just as critical, especially for achieving the perfect brownie texture. The key differentiator between standard and premium cocoa powders is the fat content. High-fat, or “full-fat,” cocoa powders, typically containing 20-24% cocoa butter, produce a significantly fudgier, richer brownie than their low-fat (10-12%) counterparts. The reason is scientific: the extra fat in the cocoa powder coats the flour’s gluten-forming proteins, inhibiting excessive gluten development. Less gluten means a denser, chewier, and more tender crumb—the hallmark of a fudgy brownie.
Another crucial factor is whether the cocoa is natural or Dutch-processed. Dutch-processed cocoa has been treated with an alkali to neutralize its acidity, resulting in a darker color and smoother, less bitter flavor. This lack of acidity is key for texture. When a recipe calls for baking soda, it relies on an acid (like natural cocoa) to react and create leavening. Using low-fat natural cocoa with baking soda can create too much lift, resulting in a more cake-like brownie. For the fudgiest possible result, pairing a high-fat, Dutch-processed cocoa with baking powder (which has its own acid) is the superior technical choice. This combination minimizes leavening while maximizing richness and tenderness.
If you must substitute natural cocoa for Dutch-processed in a recipe, it’s essential to adjust the leavening agent to account for the difference in pH. To do this, replace the baking soda with three times the amount of baking powder to ensure the chemical reactions are properly balanced for the right texture and rise.
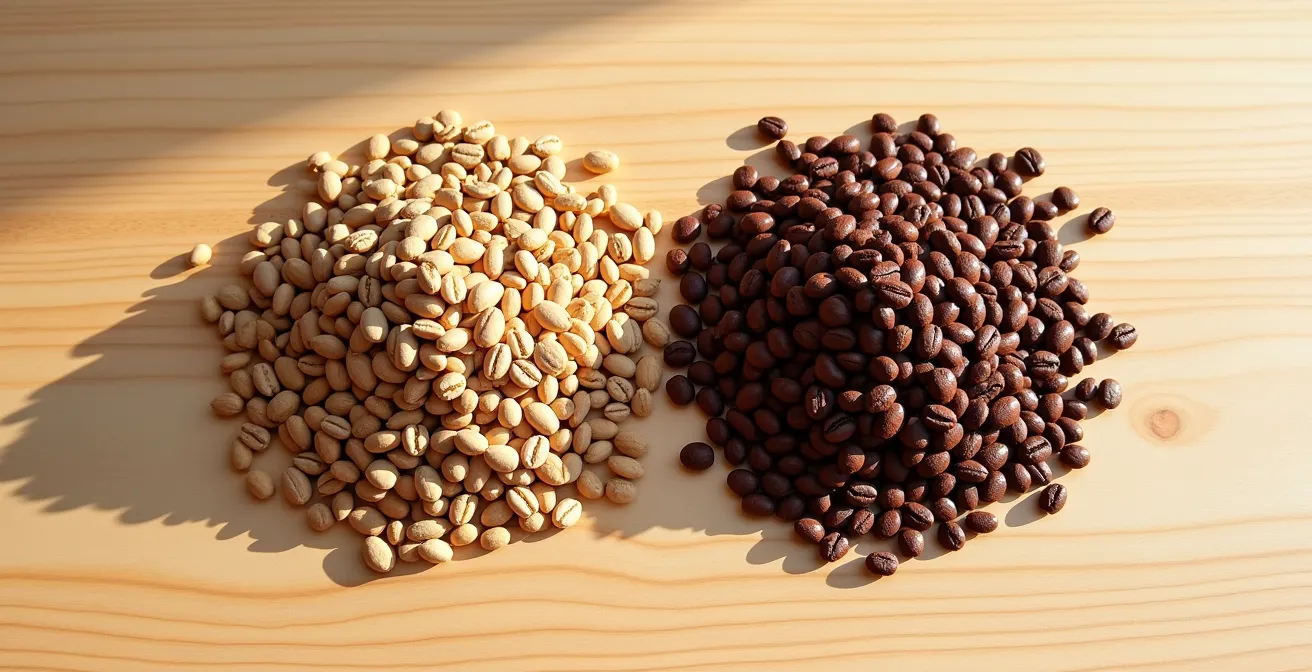
Why a Light Roast Disappears Behind 80% Dark Chocolate?
Pairing coffee and chocolate is a classic, but achieving synergy requires an understanding of intensity and temperature. A common mistake is to pair a delicate, lightly roasted coffee—prized for its bright acidity and subtle floral or fruity notes—with an overpowering, high-cacao dark chocolate. An 80% or higher dark chocolate, with its intense bitterness and deep roasted notes from the cocoa beans themselves, will completely mask the nuanced flavors of a light roast coffee. The chocolate’s powerful flavor profile simply bulldozes the coffee’s delicate aromatics.
The solution lies in two principles: balance and temperature. First, balance the intensity. A light roast coffee, with its high acidity and subtle complexity, pairs best with a dark chocolate in the 66-70% cacao range. This level of chocolate has enough character to stand up to the coffee but is not so overwhelmingly bitter that it erases the coffee’s unique profile. Conversely, a dark, smoky, heavily roasted coffee can handle the intensity of an 85% or even 90% chocolate.
Second, temperature is a critical, often overlooked variable. Serving the chocolate too cold will mute its flavors, while serving the coffee too hot will destroy its most volatile, interesting aromatic compounds. By managing the serving temperatures, you can maximize the sensory experience of the pairing.
Action Plan: Temperature Tactics for Coffee-Chocolate Pairing
- Warm chocolate to 30-32°C (near body temperature) to reduce bitterness and release aromatics.
- Cool light roast coffee to 55-60°C to preserve its volatile aromatic compounds.
- Take small alternating sips and bites, with 5-second pauses in between to allow flavors to register.
- Cleanse your palate with room-temperature water between different pairing tastings.
- For light roasts, limit your chocolate pairing to a maximum of 66-70% cacao for better balance.
Key Takeaways
- Fluidity is a technical choice: use low-drop (1-2) chocolate for stable ganache emulsions and high-drop (4-5) for delicate, thin shells.
- A perfect, sharp “snap” is the result of a correct temper (stable Type V beta crystals), not the genetic origin of the cocoa bean.
- Protect the flavor integrity of Grand Cru chocolate by using precise infusion temperatures for additions like spices and coffee.
How to Temper Chocolate in a Hot Kitchen Without Bloom?
Tempering chocolate is a challenge of temperature control; doing so in a hot, humid kitchen can feel like an impossible task. High ambient temperatures work directly against your goal of forming stable Type V cocoa butter crystals, which are necessary for a glossy finish and sharp snap. Heat encourages the formation of unstable crystal types, leading directly to fat bloom—the dreaded greyish streaks that ruin the appearance of your final product. However, with the right technique and understanding of crystallization, success is achievable.
The most reliable method in a warm environment is the seeding method. After melting your chocolate to around 45-50°C (115-122°F), you introduce finely chopped, already-tempered chocolate (the “seed”) into the melted batch. The stable Type V crystals in the seed chocolate act as a template, encouraging the rest of the cocoa butter to crystallize in the correct form. In a hot kitchen, you should use a higher ratio of seed chocolate, up to 30% of the total weight, to cool the mass down more effectively and provide more stable crystal “magnets.”
Furthermore, you must manage your working environment. Work on a naturally cool surface like a marble or granite slab. If you don’t have one, place a metal baking sheet in the refrigerator for 10 minutes to create a cool work surface. Avoid the refrigerator for setting the chocolate itself, as the extreme temperature differential and humidity can cause sugar bloom. Instead, aim for a cool room (ideally 18-20°C or 64-68°F), using an air conditioner or fans to maintain the temperature. Gentle, constant stirring is crucial as the chocolate cools to promote even crystal formation and prevent streaks.
Armed with this technical knowledge, your next step is to evaluate your current chocolate inventory against the specific demands of your upcoming pastry creations, choosing your couverture not by brand, but by performance.
Frequently Asked Questions About Valrhona vs Callebaut: Which Grand Cru for Tempering?
Can I substitute natural cocoa for Dutch-processed in brownie recipes?
Yes, but you must adjust the leavening. Replace baking soda with baking powder (use 3x the amount) to compensate for the pH difference.
Why do my brownies turn out cakey instead of fudgy?
Using low-fat natural cocoa with baking soda creates more leavening action, resulting in a cake-like texture. Switch to Dutch-processed cocoa for fudgier results.
Does cocoa fat percentage really matter for brownies?
Yes, cocoa with 20-24% fat content creates significantly fudgier brownies than 10-12% fat cocoa due to gluten development inhibition.